
Last updated August 25, 2026
Free visual inspection and a written scope of work before any mitigation begins - photos, moisture readings, and drying logs go in your claim file
The scope we write is the scope we bill. Anything new gets shown to you, in writing, before we touch it.
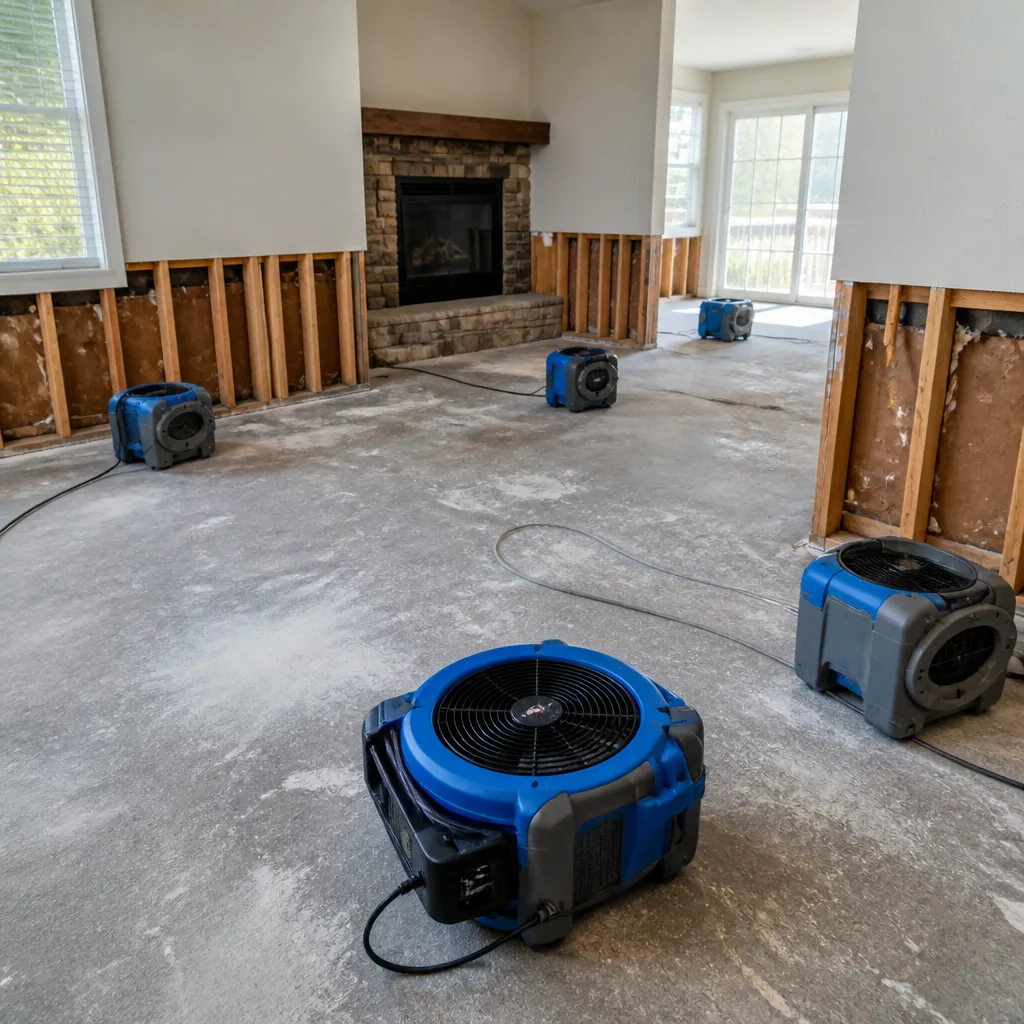

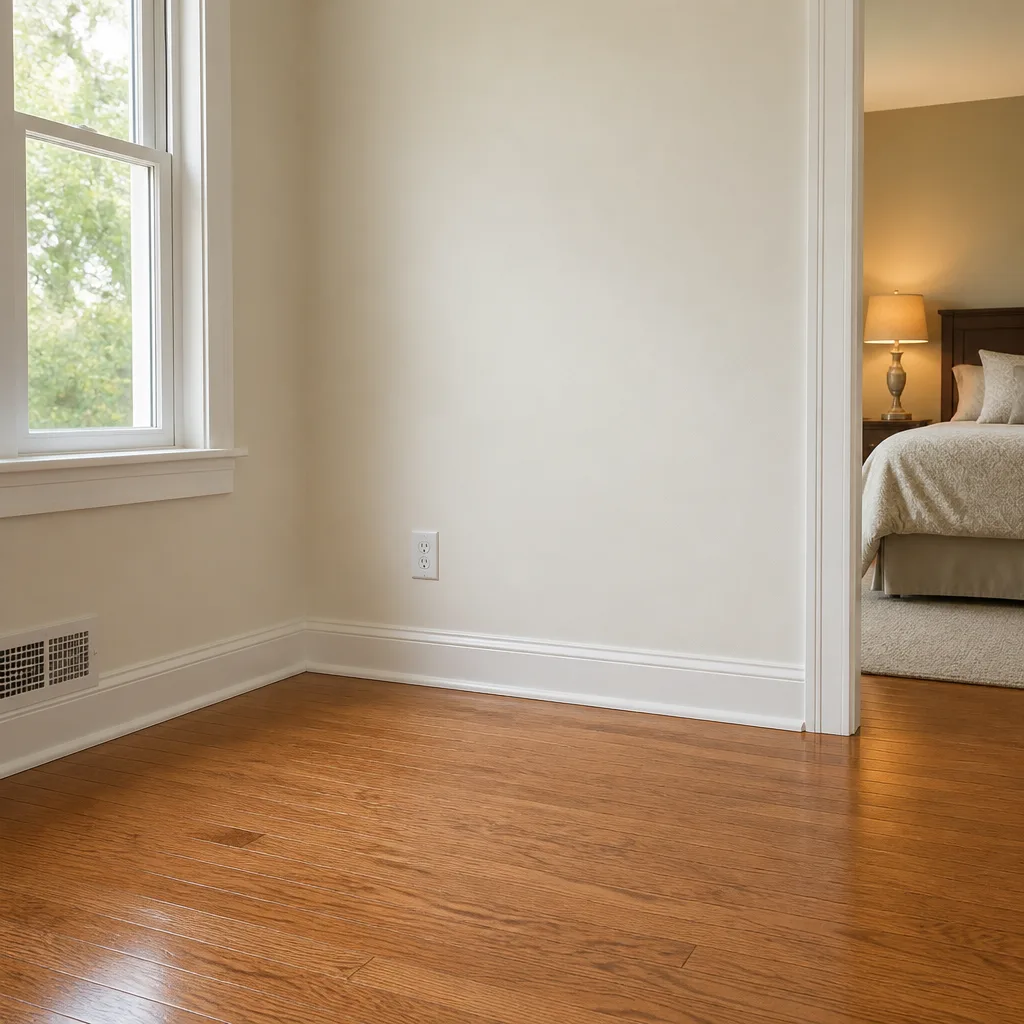

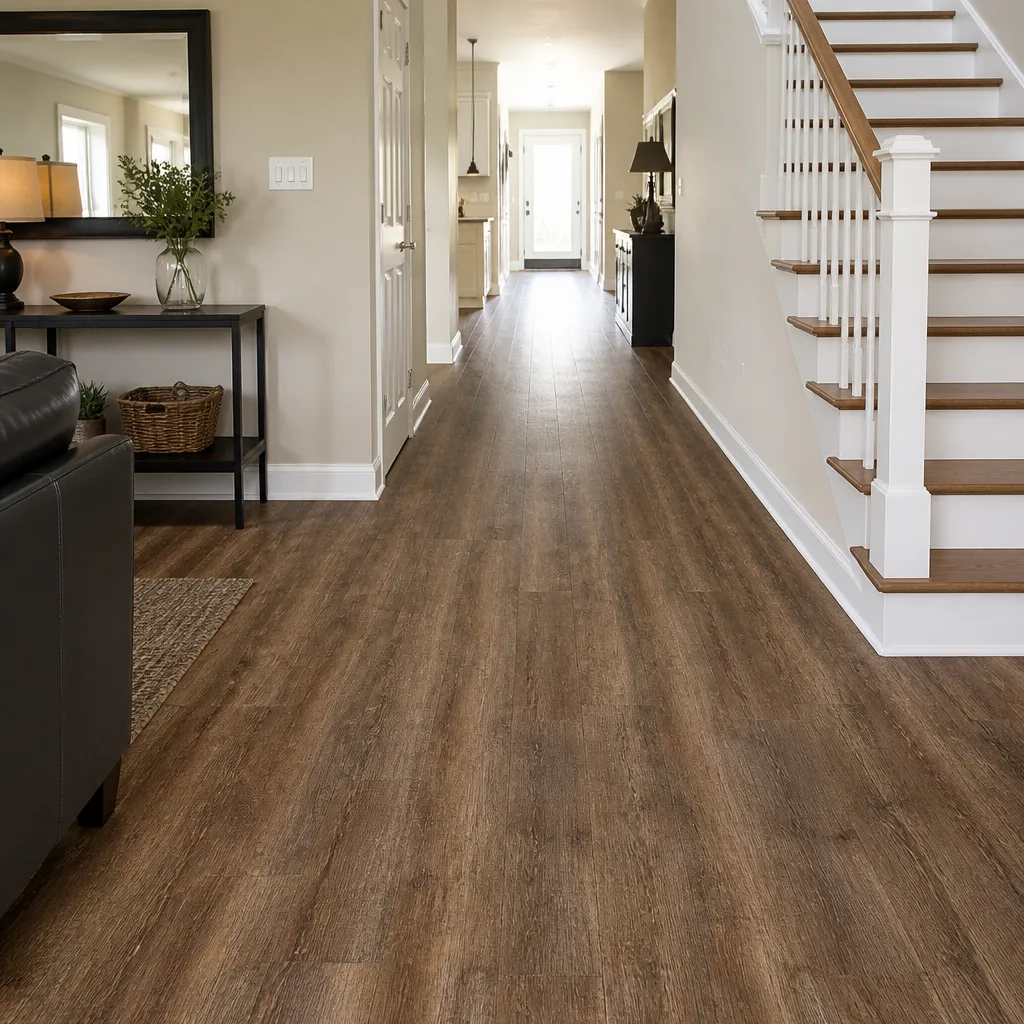

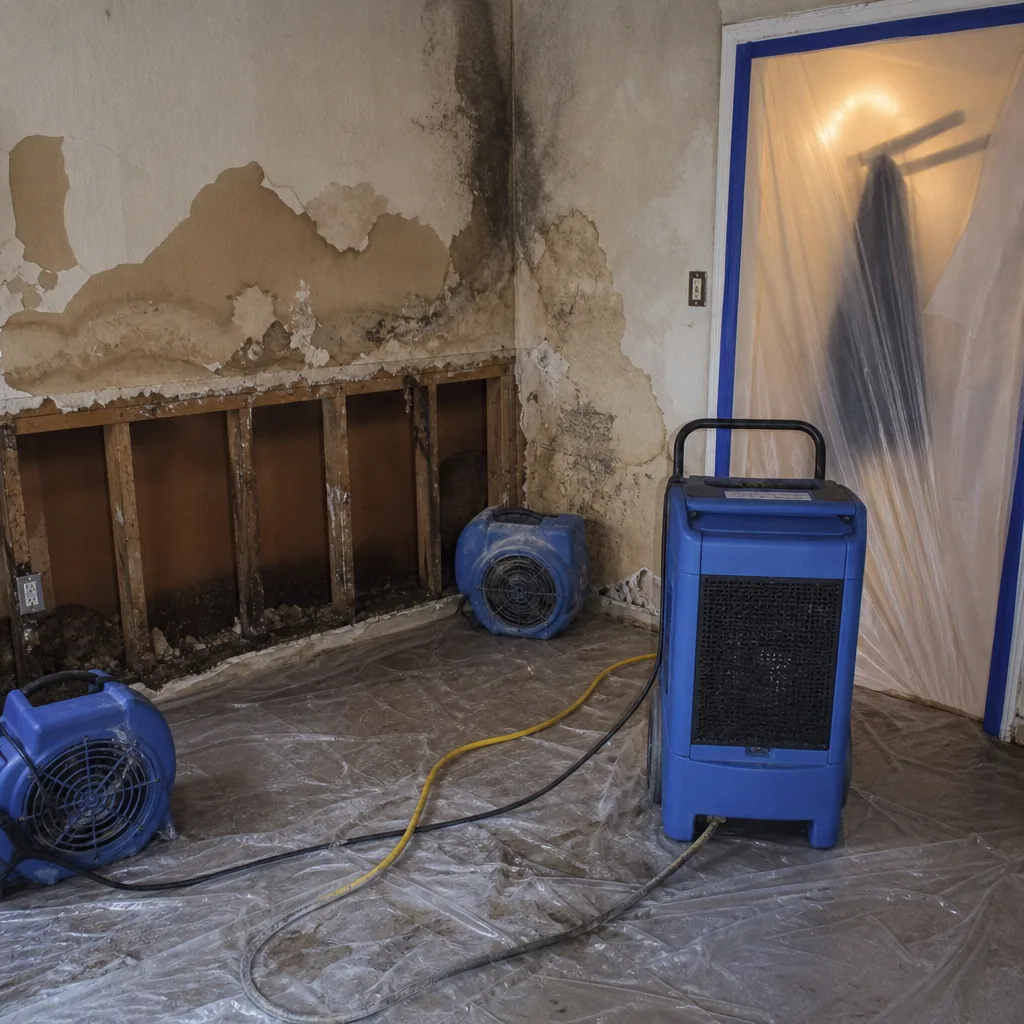 Before
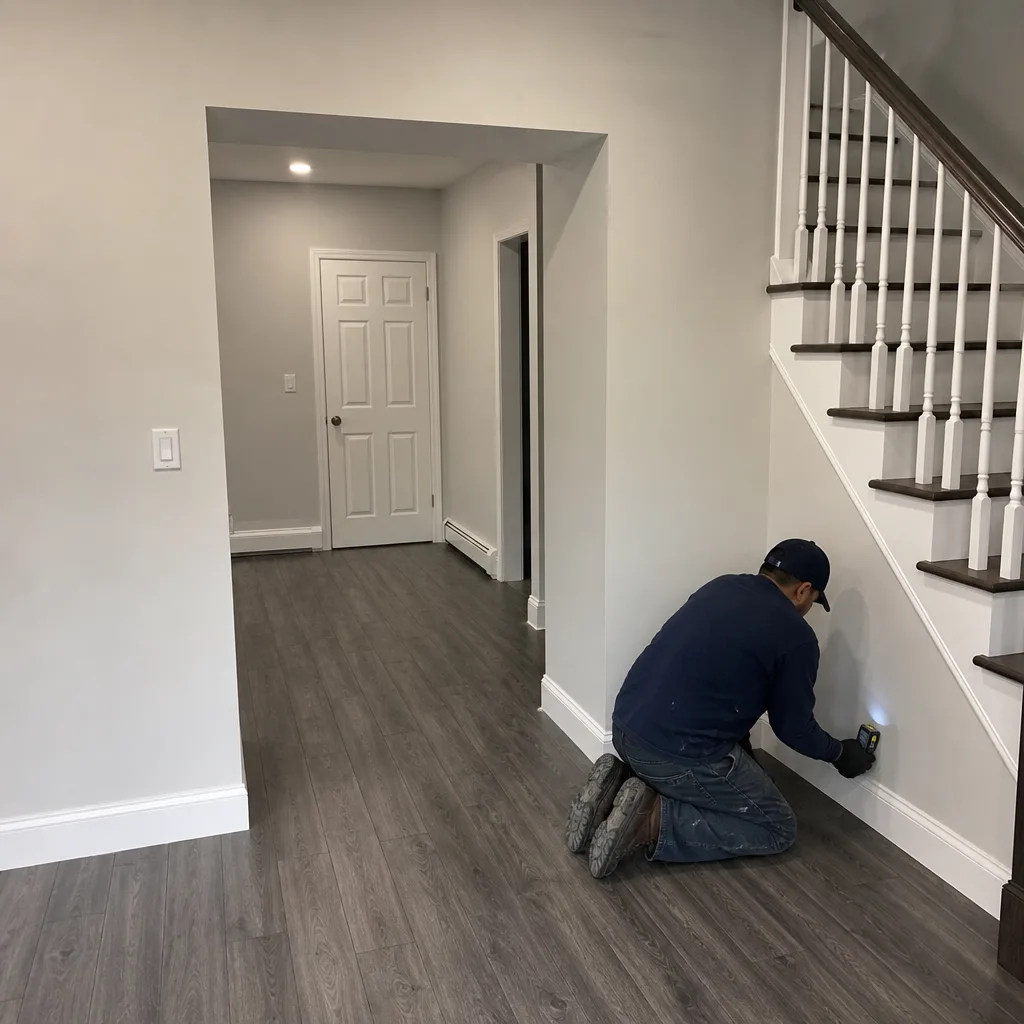 After
After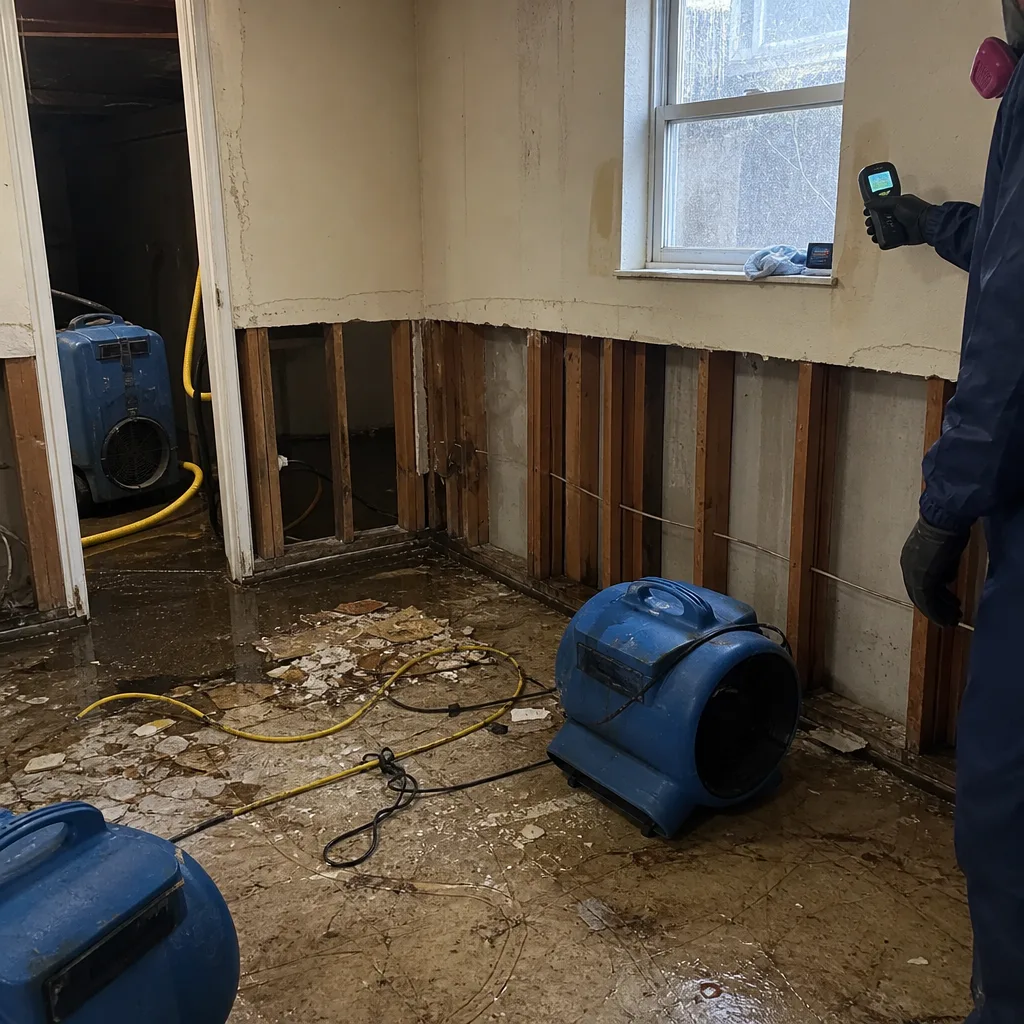 Before
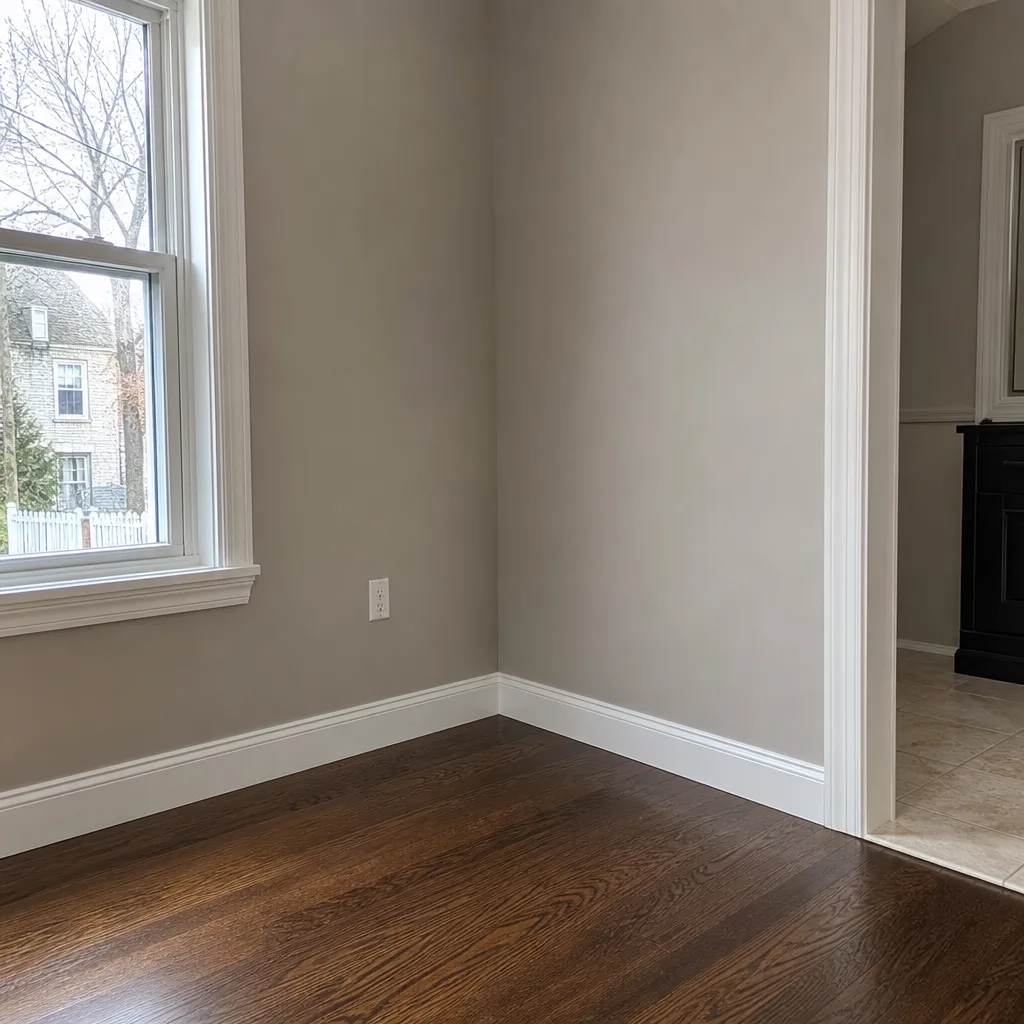 After
After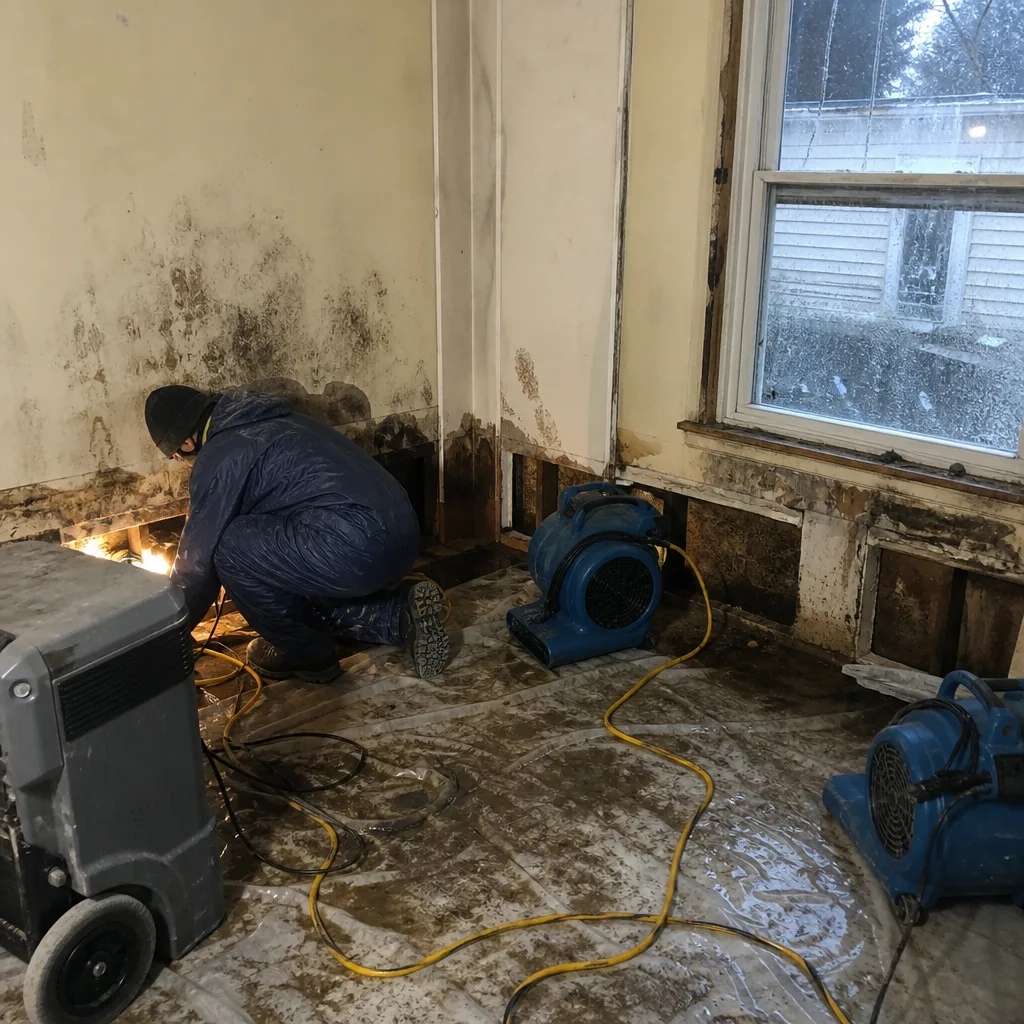 Before
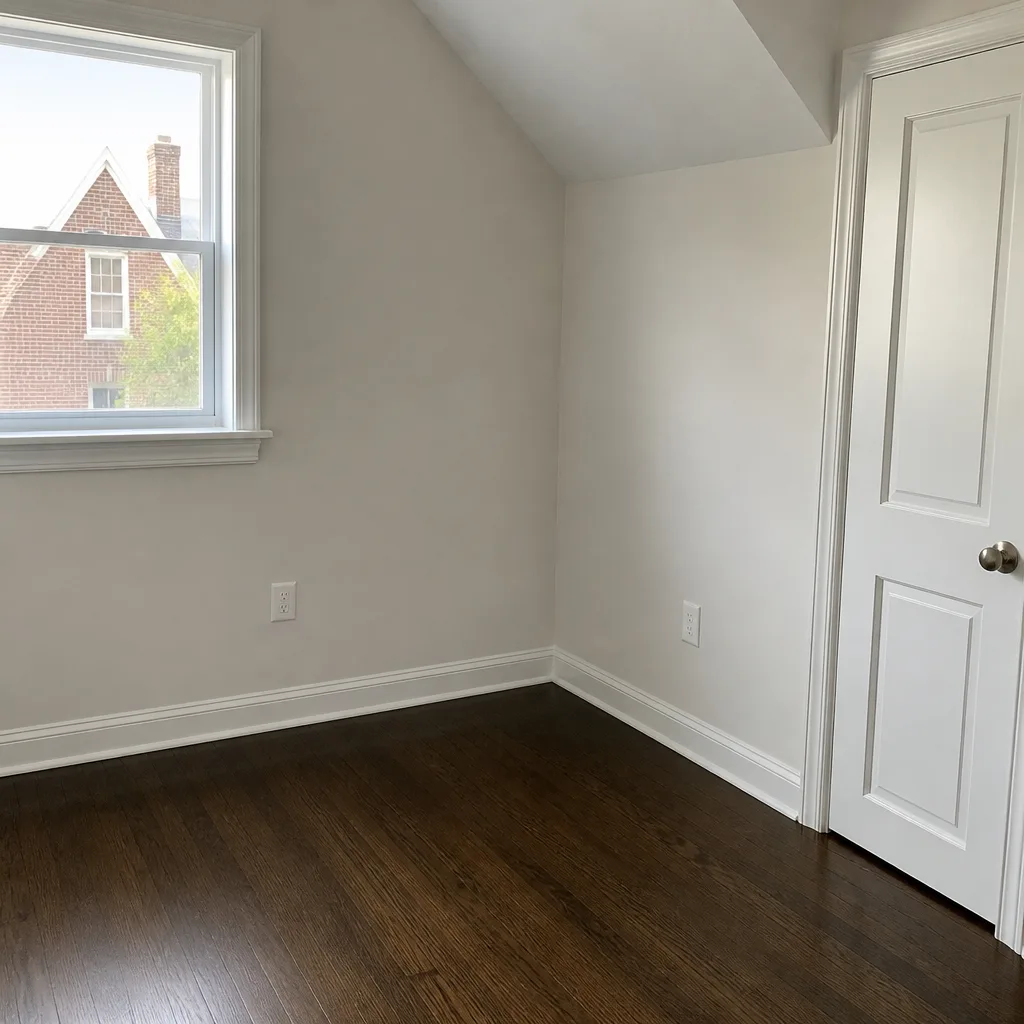 After
AfterWater Damage Restoration Maintenance Checklist for Queens Village Homeowners
Here’s a number most Queens Village homeowners never hear: a single pinhole leak behind a bathroom wall can push a house into a full restoration project within eleven days. Not weeks. Eleven days. We’ve opened walls in Queens Village where the studs looked fine from the outside and crumbled like wet cardboard once the drywall came down. The frustrating part is that most of what goes wrong is predictable. Seasonal shifts, aging copper, basement floor drains that haven’t been tested in a decade, a gutter that dumps water against the foundation every time it rains. This guide is a homeowner’s maintenance checklist built for Queens Village specifically, where brick semi-attached homes, finished basements, and hundred-year-old plumbing all meet the same humid summers and freeze-thaw winters. You’ll learn what to check, how often to check it, what you can handle with a wrench, and what genuinely needs a certified crew before the damage spreads.
Quick Answer
A water damage restoration maintenance checklist for Queens Village homeowners has five core components: seasonal gutter and downspout checks, monthly inspection of all water-using appliances and supply lines, biannual sump pump and floor drain testing, annual basement humidity and foundation crack review, and immediate documentation with photos of any visible water staining or warping. Spend about 90 minutes twice a year walking this list, and you’ll catch most water problems in the $200 repair range instead of the $15,000 restoration range. That’s the honest math, and it’s the same math we’ve watched play out in homes across Queens Village for years.
Table of Contents
- Understanding How Water Enters a Queens Village Home
- Seasonal Exterior Checklist: Gutters, Grading, and Foundation
- Interior Maintenance: Supply Lines, Appliances, and Basement Drains
- Sump Pump Testing and Backup Systems
- Humidity Control and Condensation in Finished Basements
- The Documentation Habit: Photos, Logs, and Insurance Readiness
- Common Mistakes to Avoid
- When to Call a Professional
- Frequently Asked Questions
- The Bottom Line
Understanding How Water Enters a Queens Village Home
Before any checklist makes sense, it helps to know the four ways water gets into a house in Queens Village. We see the same four paths on almost every single job, and once you know them, the maintenance tasks stop feeling like chores and start reading like a map.
The first is roof and gutter failure. Queens Village streets are lined with mature trees, and those trees drop leaves, twigs, and seed pods onto roofs each fall. A clogged gutter backs up, water spills over the edge, and it runs down the side of the house instead of away from it. That water pools at the foundation line, finds the hairline crack that’s been there since 1958, and quietly enters the basement. The second path is foundation seepage. Homes in Queens Village sit on heavy clay soil that expands when wet and contracts when dry. That expansion cycle opens cracks in poured concrete and loosens mortar joints in older brick foundations. The third is interior plumbing failure. Supply lines under sinks, behind toilets, and running to washing machines are under constant pressure. A rubber washer fails, a copper elbow corrodes from the inside, and water starts moving through the wall cavity. The fourth is appliance failure. Water heaters, boilers, dishwashers, and refrigerators with ice makers all have a finite life, and the failure is rarely dramatic. It’s a slow seep from a rusted tank bottom or a cracked drain pan that goes unnoticed for days.
We’ve built this checklist around those four paths because that’s what the water actually does here. But the point of maintenance is interruption: you want to spot the failure while it’s still a $40 hose swap, not a soaked subfloor and a call to a restoration crew.
Seasonal Exterior Checklist: Gutters, Grading, and Foundation
Walk the outside of your home four times a year. That’s the whole exterior program. Queens Village gets its heaviest rain in spring and early fall, and the freeze-thaw cycle from December through March is what widens every small crack into a real entry point. This is the outside work, in order.
- Clean gutters and downspouts each spring and late fall. In Queens Village, October’s leaf drop is heavy. A single blocked downspout can overflow during a November nor’easter and dump hundreds of gallons against your foundation in one afternoon. Run a hose through the system after cleaning to confirm water flows freely and exits at least four feet from the house.
- Check downspout extensions. A downspout that ends at the foundation is a slow leak with a mailing address. Splash blocks and flexible extensions cost under $20 at any hardware store on Hillside Avenue. The water should land on soil that slopes away from the house, not on a sidewalk that tilts back toward the wall.
- Inspect foundation walls and the sill plate. Kneel down at ground level and look for efflorescence - that white chalky powder that forms when water moves through masonry. Efflorescence is the earliest visible sign of seepage. Also check the mortar joints on brick homes; loose or crumbling mortar is where the water starts.
- Check grade around the house. Soil settles over the years. Walk the perimeter and see if any flower beds or walkways now pitch back toward the foundation. The ground should drop roughly six inches over the first ten feet away from the house. If it doesn’t, regrading is a spring project, not a panic.
- Inspect the roof from the ground with binoculars. You’re looking for lifted shingles, missing flashing around chimney or vent pipes, and wet spots at roof valleys. Queens Village gets real wind in spring storms, and one lifted shingle is all it takes.
Interior Maintenance: Supply Lines, Appliances, and Basement Drains
Most water damage that we restore in Queens Village starts inside the house, often in a finished basement or a second-floor bathroom. The inside check takes about an hour, and it is the highest-value hour a homeowner can spend on water damage prevention.
Monthly supply line and appliance checks:
- Flexible supply lines under every sink and toilet. These braided stainless lines have a working life of about 10 years. Look for rust on the braid, kinks, bulges, or green corrosion at the fittings. If one looks questionable, shut off the angle stop and replace it. The line itself costs $8.
- Washing machine hoses. This is the number one burst we see in Queens Village homes. Rubber hoses age out and fail catastrophically, typically when no one is home. Replace rubber with braided steel, and check the connection points for dampness every month.
- Water heater. Check the top of the tank, the TPR valve, and the area around the base. Rust at the bottom seam means the tank is on borrowed time. Also check the age of the unit; most tanks last 8 to 12 years. If yours is older and showing rust, start planning the replacement before it makes the decision for you.
- Dishwasher, ice maker, and boiler. Run your hand under the appliance. Feel for dampness. Check the supply lines where they connect. If the dishwasher is original to the kitchen and the kitchen is original to the 1980s, the hoses are living on reputation.
- Basement floor drains. Pour a gallon of water down every basement floor drain twice a year. The trap under the floor dries out, and when the trap is dry, sewer gas comes up. But the other reason is that a blocked or slow drain is the first sign of a larger issue under the slab.
Sump Pump Testing and Backup Systems
If your Queens Village home has a sump pit, treat the pump like a smoke detector: test it on a schedule whether or not anything seems wrong. A sump pump that hasn’t run in nine months has a decent chance of failing the first time it’s asked to work.
Here’s the test protocol we recommend in Queens Village, and it takes ten minutes, twice a year:
- Lift the float manually. Open the pit cover and lift the float arm. The pump should kick on immediately. If it hums without pumping, the impeller may be jammed or the motor may be shot.
- Pour a five-gallon bucket of water into the pit. The pump should cycle and clear the water within ten to fifteen seconds. Slow cycling, frequent short-cycling, or failure to keep up with the incoming water all mean service is due.
- Check the discharge pipe outside. Walk to where the pipe exits the house. During a pump cycle, water should flow freely and land at least four feet from the foundation. In winter, make sure the discharge outlet isn’t buried in snow or ice, which can force water back toward the house.
- Inspect the check valve. The check valve on the vertical discharge pipe prevents water from flowing back into the pit after the pump shuts off. If you hear water sloshing back after each cycle, the valve needs replacing.
- Consider a battery backup or water-powered backup. The worst sump failure is the one that happens during a power outage in a heavy storm. Queens Village gets those; the August 2020 and September 2021 storms flooded basements all over eastern Queens. A battery backup rated for your pump size is cheap insurance compared to a finished basement restoration.
Humidity Control and Condensation in Finished Basements
Water damage isn’t always a leak. In Queens Village, where summer humidity regularly tops 70 percent, finished basements lose more floors and walls to condensation than to actual flooding. Condensation is the silent version of water damage, and it behaves differently: it encourages mold, lifts vinyl plank flooring, and quietly rots baseboard trim from the back side out.
The maintenance work here is environmental:
- Run a dehumidifier from June through September. Set it to 50 percent relative humidity and leave it on. A basement without air conditioning hitting 70 percent humidity in a Queens Village July is not an issue; it’s a physics lesson waiting to happen.
- Check the basement walls for dampness after heavy rain. Run your hand along the interior face of the foundation wall, especially at the cove joint where the wall meets the floor. Dampness there means hydrostatic pressure is pushing water through the joint.
- Keep air moving. Stagnant air in corners and under stairwells holds moisture against drywall. A small fan or open vents make a real difference in enclosed basement rooms.
- Insulate cold water pipes. Pipe sweat from condensation dripping onto a basement ceiling runs down and collects in the edge of the drywall, and from there it wicks into the framing. Foam pipe insulation is a one-time $20 fix for the whole basement ceiling.
- Check window wells. If the basement has below-grade windows, the wells should have covers and the drains at the bottom should be clear. A window well that fills with water is a persistent, slow leak through the window frame.
The Documentation Habit: Photos, Logs, and Insurance Readiness
This is the part of maintenance that most Queens Village homeowners skip, and it’s the part that costs the most when a claim actually happens. Insurance companies process water damage claims on evidence. A photo with a date stamp is evidence. A written note in a simple logbook is evidence. Memory is not evidence.
We tell every homeowner we work with in Queens Village to build a simple documentation habit. It doesn’t need to be complicated:
- Photograph every area of the home once per season. Basement corners, under sinks, behind the water heater, the ceiling under every bathroom. Store the photos in a folder on your phone or computer. When water damage appears, having a “before” photo from two months ago proves the damage is new.
- Log your maintenance tasks. A simple notebook entry with the date and what you checked: “March 14 - sump pump tested, ran clear. Gutter cleaned at rear downspout.” That’s a two-minute entry that becomes a paper trail.
- Photograph any new stain immediately. A water stain on a basement ceiling might be a slow plumbing drip or a roof leak. If you can document the first day you saw it, and then document it again in two weeks if it has not grown, you have useful information for an adjuster or a restoration crew.
- Keep the receipts. A new water heater, a sump pump replacement, a supply line upgrade. Keep receipts in a dedicated folder. When a claim involves an appliance, the receipt establishes age and maintenance history.
Documentation is how a water damage claim stays honest. It’s also how a restoration estimate stays accurate. When we walk into a Queens Village home and the homeowner can show us a photo from last month of a dry wall and a photo from this morning of the same wall wet, we can pinpoint the source faster, dry it faster, and avoid unnecessary demolition.
Common Mistakes to Avoid
- “It’s just a small stain, I’ll keep an eye on it.” Water behind drywall spreads horizontally and vertically. By the time a stain gets bigger enough to notice, the framing behind it has been wet for weeks. If the stain is new, track it with photos for no more than seven days, then act.
- Ignoring the exterior during dry months. Queens Village gets the most rain in spring and autumn, but gutter and foundation problems develop year-round. The dry weeks of July are the safest time to repair grading, repoint brick, and replace gutter sections.
- Running a dehumidifier with the basement window open. The machine works against outside humidity, and the basement stays damp. Close the windows when the dehumidifier runs in summer.
- Painting over a water stain. The stain bleeds through, but more importantly, the water behind it has not stopped. Paint hides the symptom and leaves the problem growing inside the wall.
- Waiting until the basement floods to test the sump pump. The pump fails at the exact moment it’s needed. Test it on a dry Sunday morning in March and September, not during a storm.
- Assuming insurance covers everything. Many Queens Village homeowners learn at claim time that sewer backup, flood (as distinct from water damage), and gradual leaks are often excluded or capped. Read the policy, and call your agent with specific questions before the water shows up.
When to Call a Professional
Some water problems are maintenance issues, and some are restoration events. You’ll know the difference, but the threshold is worth stating clearly. Call a professional restoration company if water has soaked into drywall, flooring, or insulation; if the source is a sewer backup or any Category 3 water; if the affected area is over about ten square feet; or if you can smell mustiness within 48 hours of the event. A trained crew uses moisture meters to find the water you can’t see, and the drying equipment - air movers, dehumidifiers, injection systems - is not something a homeowner improvises. A flooded finished basement in Queens Village can be dried in four to six days with the right equipment, and it can take three weeks or go fully moldy without it. Floodline Restoration Co. home offers free estimates in Queens Village, and a live person always answers at (631) 557-5029.
Frequently Asked Questions
Run the full interior and exterior checklist twice a year, ideally in late March and late September, with smaller monthly checks on supply lines, under-sink areas, and appliance connections in between. In Queens Village, the March check catches winter freeze-thaw damage, and the September check prepares the house before fall leaf drop and the rainy season start.
In our experience in Queens Village, washing machine hose failures, water heater tank failures, and basement seepage from foundation cracks share the top spot. Supply line failures are the most preventable because the hoses are visible and cheap to replace. Foundation seepage is more predictable: it follows heavy spring nor’easters and summer downpours.
A shop vac removes standing water but does not extract water from drywall, carpet, pad, or wood framing, and that trapped water is where mold starts within 48 to 72 hours. For a small, contained spill on a tile floor, a shop vac is fine. For a flooded finished basement, professional extraction and drying equipment prevent a much larger restoration down the line.
Standard homeowner policies typically cover sudden and accidental water damage, like a burst supply line or a water heater failure, but often exclude or cap sewer backup, groundwater seepage, and gradual leaks that occurred over time. Review your policy coverages and endorsements, and call your agent directly with questions now, while the house is dry. Floodline Restoration Co. works directly with insurance carriers and can provide photo documentation and moisture logs for your claim.
A properly equipped basement drying usually takes four to six days, depending on the extent of the water, the materials affected, and the weather outside. Homes in Queens Village with finished basements and drywall or carpet take longer than unfinished spaces with exposed concrete. The drying process is complete when moisture meters confirm the materials are back within the dry standard, not when the surfaces feel dry to the touch.
Yes. Every job Floodline Restoration Co. completes is backed by the 90-Day Done Right Promise, given in writing, with no arguing. If it’s not done right, we make it right. That is the Keystone Standard, and it applies to extraction, drying, mold remediation, and rebuild work in Queens Village.
The Bottom Line
A water damage problem in a Queens Village home almost never announces itself. It starts as a gutter that pours against the foundation, a braided hose that started rusting two winters ago, a sump pump that nobody has tested since the last storm, and a basement that runs at 70 percent humidity all July. The maintenance checklist above is designed to see those things while they’re still small, because the difference between a $40 hose and a $15,000 restoration is usually just attention at the right moment. Do the seasonal checks, keep a simple log, test the equipment, document what you see with photos, and when something crosses the line from maintenance to restoration, call a company that answers the phone with a live person and stands behind the work. In Queens Village, that’s Floodline Restoration Co. home. Call (631) 557-5029 for a free estimate, day or night.
Written by Curt Bowman, Owner at Floodline Restoration Co., serving Queens Village since 2010.