
Last updated August 25, 2026
Free visual inspection and a written scope of work before any mitigation begins - photos, moisture readings, and drying logs go in your claim file
The scope we write is the scope we bill. Anything new gets shown to you, in writing, before we touch it.
 Before
 After
After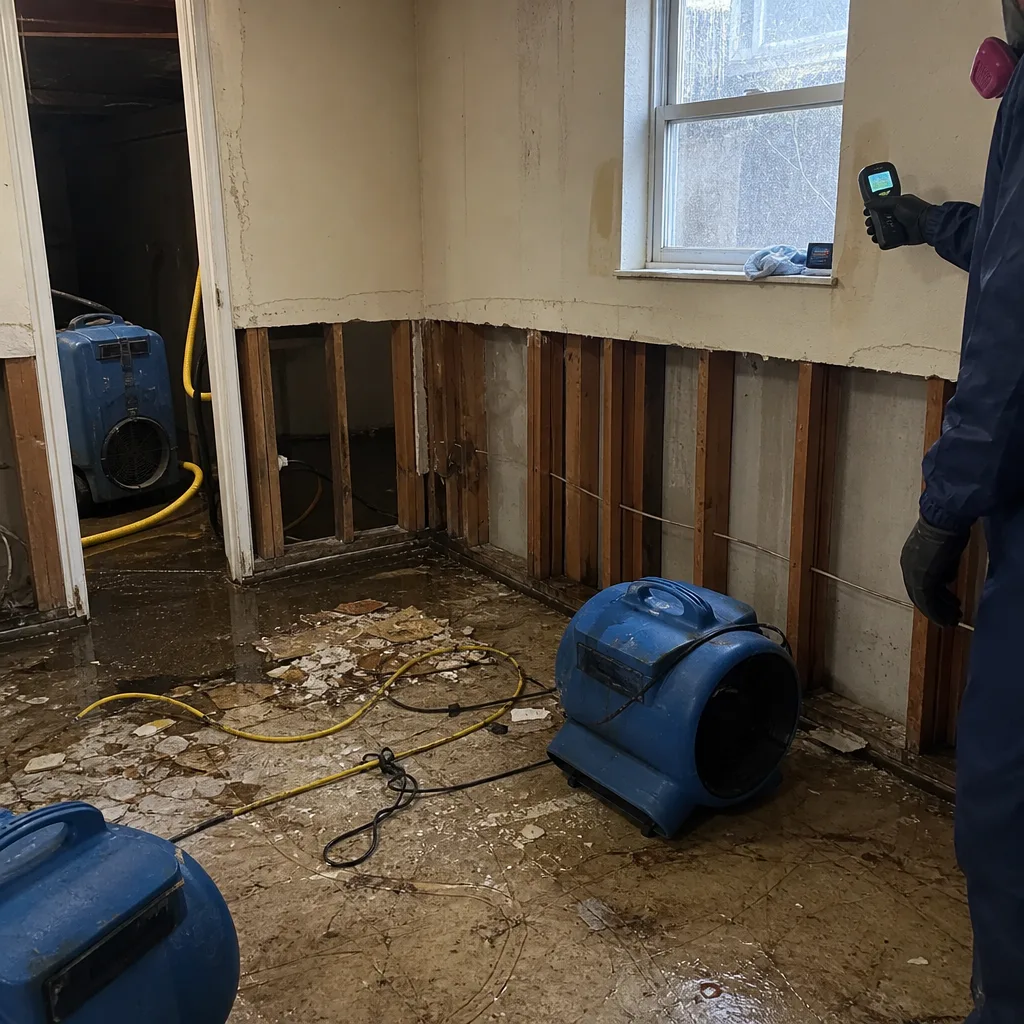 Before
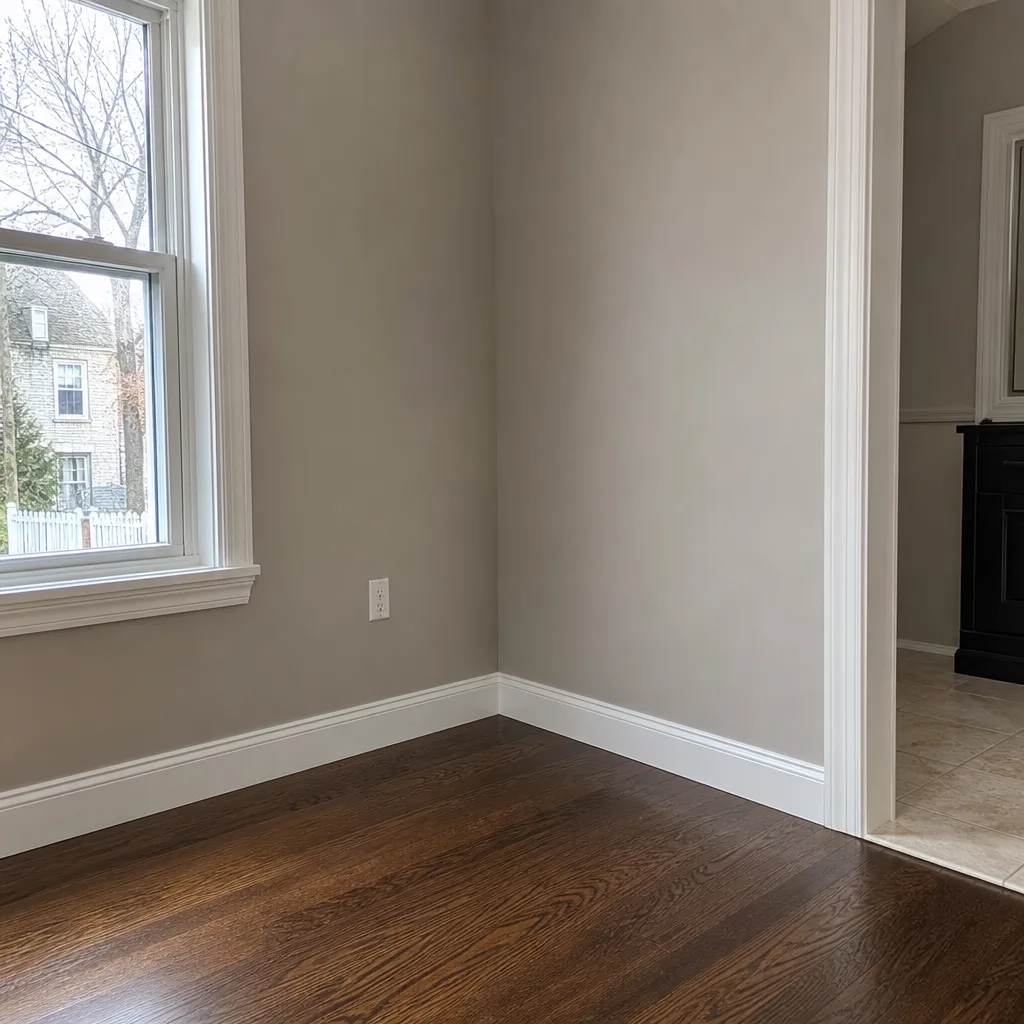 After
After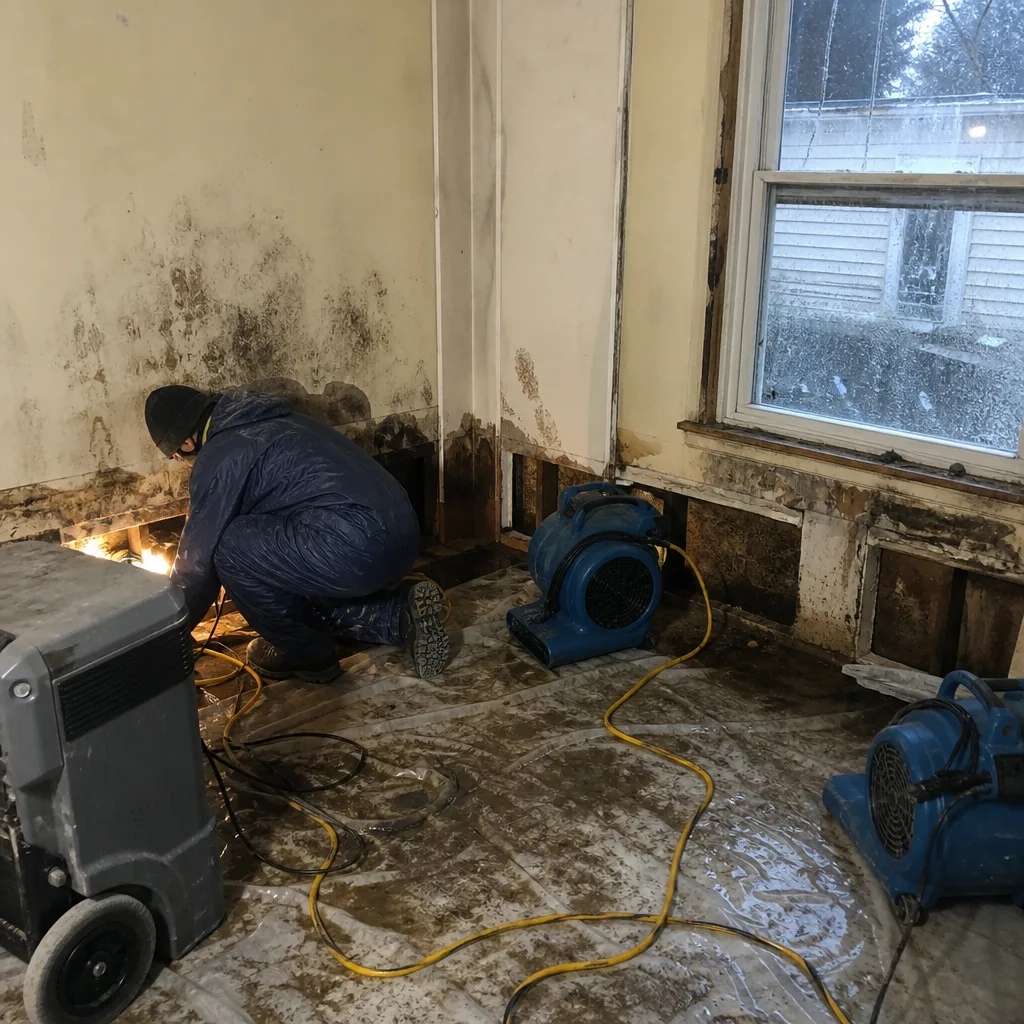 Before
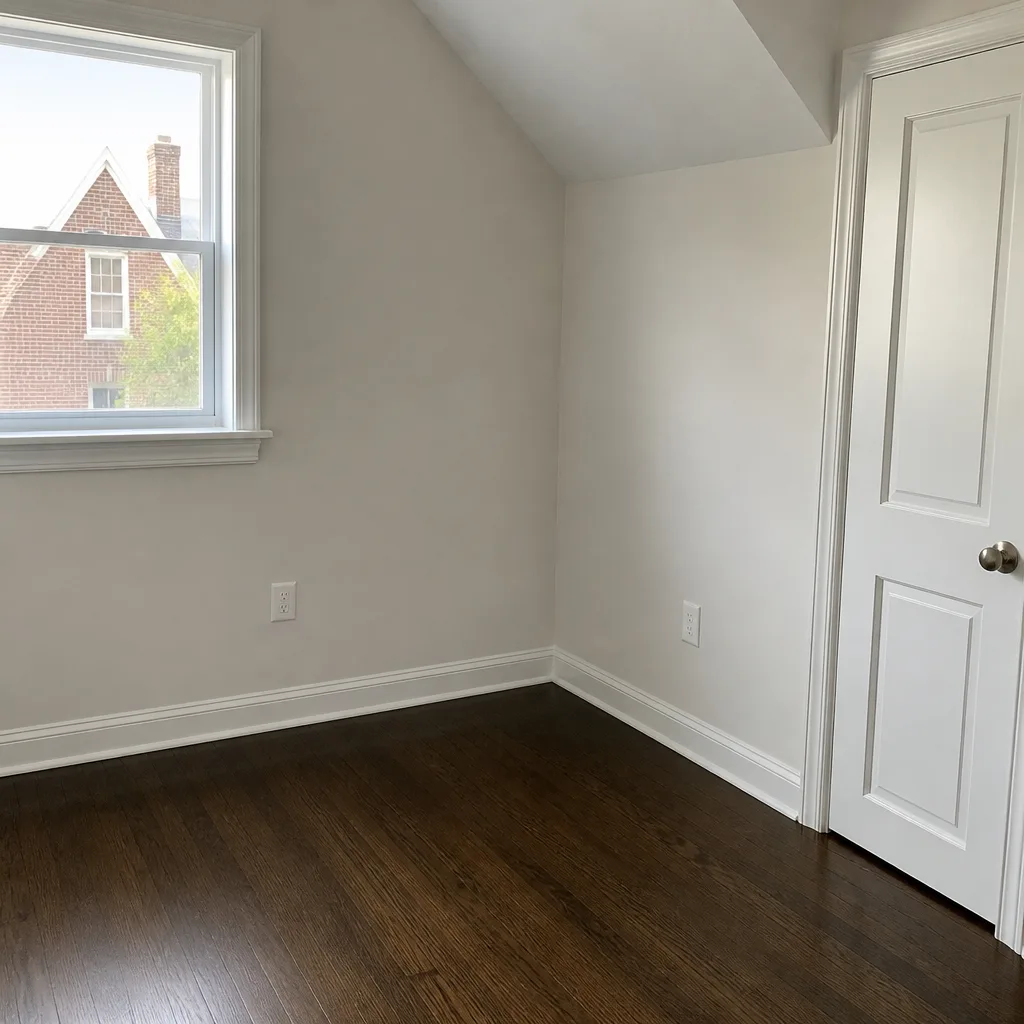 After
AfterDIY vs Professional Damage Restoration: The Queens Village Homeowner’s Decision Guide
Every year in Queens Village, homeowners discover that the same water that keeps a 1920s Tudor standing can, in one bad night, become the enemy hiding inside its plaster walls. The average homeowner dealing with a first-time water loss spends roughly eleven hours researching before picking up a phone. By hour six, most have watched at least one video in which someone with a shop vac appears to make the problem go away. What the video never shows is what that wall looks like in March, when the mold the vacuum didn’t reach has quietly colonized the framing behind it.
Quick Answer
For Category 1 clean-water losses under about 10 square feet with no visible drywall wicking, a careful DIY response can work in Queens Village. For anything involving sewage, a sump pump failure that sat overnight, water that has touched insulation or drywall, any fire or smoke event, or visible mold growth larger than a dinner plate, professional restoration is not optional - it is the difference between a $400 cleanup and a $14,000 rebuild.
Table of Contents
- What DIY Can Really Handle in Queens Village
- What DIY Cannot Handle (And Why It Costs More to Try)
- The Hidden Costs of a DIY Job
- How Professional Restoration Actually Works: A Step-by-Step
- Queens Village-Specific Factors: Houses, Weather, and Code
- Equipment: The Real Difference Between a Fan and a Dry Standard
- Cost Comparison: DIY vs Professional Restoration
- Common Mistakes to Avoid
- When to Call a Professional
- Frequently Asked Questions
- The Bottom Line
What DIY Can Really Handle in Queens Village
Let’s be plain about what a homeowner with a wet/dry vac, a box fan, and patience can actually accomplish. In our 42 years serving Queens Village, we’ve seen successful DIY responses to exactly this scenario: a washing machine supply line lets go while someone is home, water spreads across a tile or vinyl floor, no drywall has wicked it, and the homeowner starts vacuuming within the first hour. That is a real, winnable situation.
The key factors in your favor are these:
- Clean water only. Supply-line water, toilet tank overflow, or rainwater through a window that was already open. No sewage, no ground water, no water that has passed through insulation or building cavities.
- Hard, non-porous floors. Tile, sealed concrete, vinyl. Hardwood can sometimes be saved with fast action, but the margin for error drops sharply.
- Time on your side. You see it happen, or you’re within the first two hours. In a heated Queens Village house in January, indoor humidity is already low. That works in your favor.
- No adjacent finished space below. If the water sat on a slab or above an unfinished basement, you’re not chasing it through a ceiling.
In those situations, the right sequence is straightforward: stop the source, remove as much standing water as physically possible, run fans and a dehumidifier at the highest setting, and keep air moving for at least 72 hours. Check for wicking at the base of drywall by pressing a dry paper towel against it. If the towel comes away damp after the first day, you’ve missed something.
What DIY Cannot Handle (And Why It Costs More to Try)
The line between a manageable DIY job and a professional restoration is not a matter of effort. It is a matter of what water does after the visible puddle is gone. Water that enters a wall cavity in Queens Village behaves the way it does in every other climate: it wicks upward through gypsum and insulation at a rate that surprises people, it evaporates into whatever space it can find, and within 24 to 48 hours it feeds the dormant mold spores that are already in every house built before 1990.
Here is what DIY cannot address, regardless of how many fans are running:
- Water inside cavities. A wall that looks dry on the surface can hold saturated insulation and wet studs for weeks. Mold thrives behind baseboards, inside wall cavities, and under vanities.
- Sewage or floodwater. Category 2 and Category 3 water carry pathogens and require sanitation protocols, not just drying. A shop vac does not sanitize anything.
- Fuel-fed fires. Smoke from a burning sofa or kitchen grease fire deposits acidic soot that etches surfaces and requires chemical sponges, not a damp rag.
- Electrical safety. Water that has reached outlets, junction boxes, or wiring inside walls requires a licensed electrician’s assessment before any drying equipment is introduced. Electricity and water do not negotiate.
- Airborne contamination. Mold spores and fine particulates from a fire move through a house faster than anyone expects. Without negative air pressure and proper containment, every fan you run spreads the problem rather than solving it.
The most expensive restoration jobs we handle in Queens Village are often the second attempt. By the time we are called, the homeowner has spent two weeks running fans, the drywall has softened, the baseboards have started to bow, and what began as a $1,200 drying job has become a $9,000 gut-and-rebuild. The physics did not change. The timeline did.
The Hidden Costs of a DIY Job
The visible cost of a DIY restoration job in Queens Village is the equipment: a rental dehumidifier at $45 a day from a local rental counter, a box fan, a wet/dry vac if you don’t own one. The invisible cost is the part of the equation that matters more, and it compounds every day a professional is not measuring the moisture.
Here is a fair way to think about it:
- The mold timeline. In a centrally heated house at 70 degrees, mold colonization can begin inside 48 hours of water exposure. Once it starts behind a wall, you cannot see it, and you cannot clean it without opening the wall.
- The insurance timeline. Most homeowners policies in New York require the homeowner to mitigate further damage (“duty to mitigate”) after a loss. If an adjuster later finds that the homeowner’s DIY drying was inadequate and secondary damage resulted, the carrier may reduce or deny the additional claim. Photographic documentation and moisture logs from a certified restorer answer that question before it is asked.
- The mechanical timeline. Delaminated hardwood, swollen MDF baseboards, rusted door hinges, and warped cabinet boxes do not fail immediately. They fail over the following weeks, long after the puddle is forgotten. A professional drying program catches the hidden moisture before the damage becomes permanent.
- The resale timeline. An unresolved moisture issue becomes a disclosure issue. Queens Village homes sell on charm and condition. A documented, professional restoration with a final moisture reading is a selling point. An undiagnosed damp smell is a price reduction.
How Professional Restoration Actually Works: A Step-by-Step
Knowing what a professional restoration company actually does on a Queens Village water loss helps explain why the service costs what it costs. At Floodline Restoration Co., the process has not changed in its fundamentals since our founding in 2010, because the physics of drying and the requirements of insurance carriers have not changed either.
Here is the sequence, in the order a competent restorer runs it:
- Assessment and classification. A trained technician identifies the water category (clean, gray, or black), the class of water intrusion, and the extent of migration. This tells us what is salvageable and what must be removed.
- Source control. The water supply is stopped, the electricity to affected areas is shut down, and any standing water is extracted using truck-mounted or portable extraction equipment.
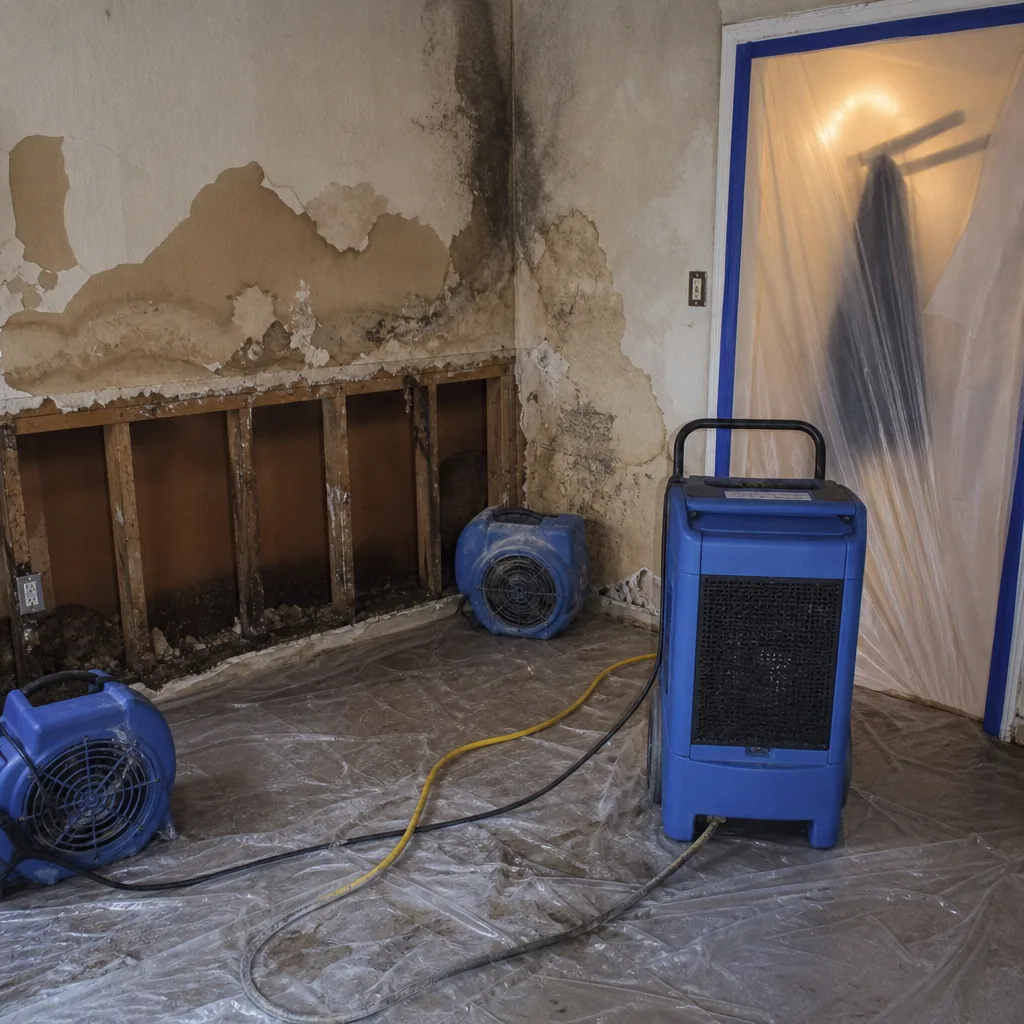
- Containment. Plastic sheeting and negative air pressure isolate the wet area from the rest of the house, preventing cross-contamination during drying.
- Removal of unsalvageable materials. Saturated drywall, insulation, carpet pad, and other porous materials are cut out and bagged. This step is where a professional and a homeowner make very different calls.
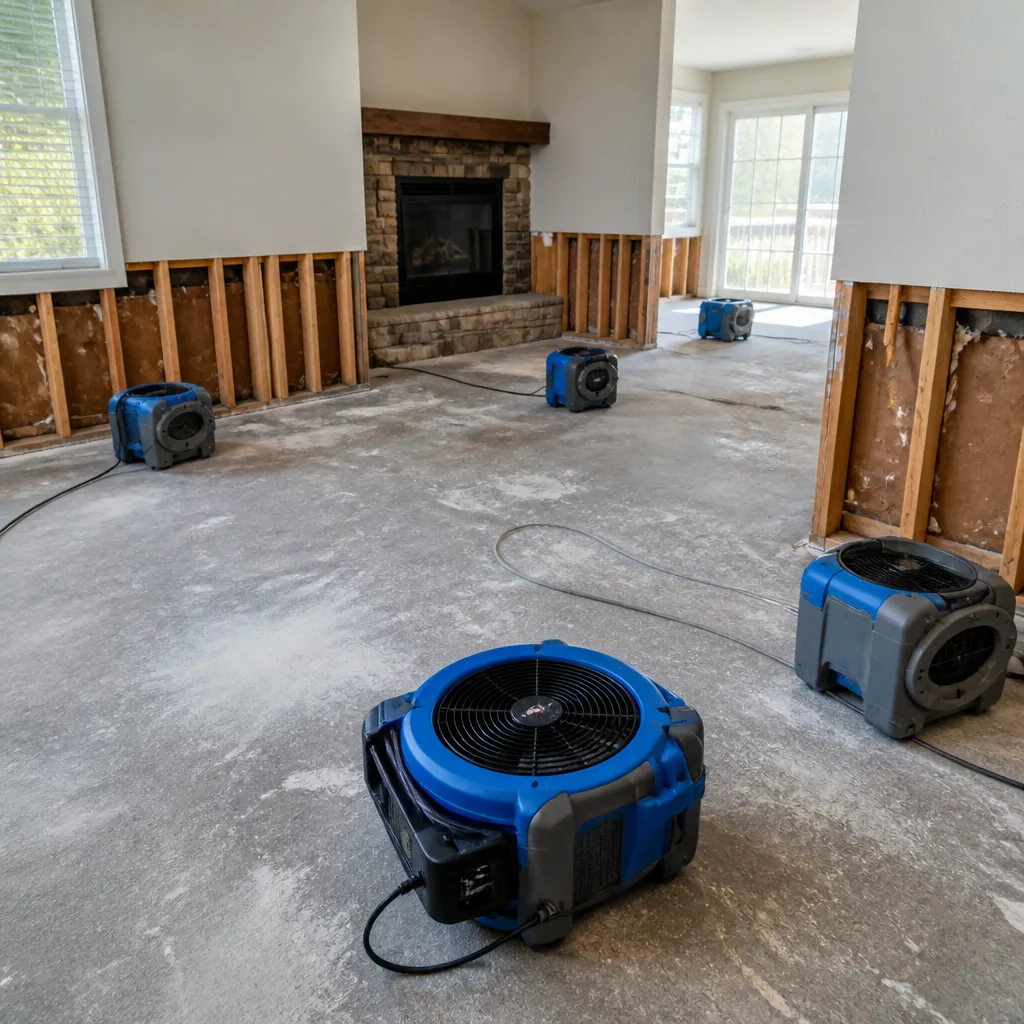
- Drying and dehumidification. Professional-grade air movers and dehumidifiers, including Dri-Eaz and Phoenix units, create a calculated drying environment. Equipment placement is based on a moisture map, not guesswork.
- Daily monitoring. Moisture readings are taken and logged every day until the dry standard is met. The homeowner and the insurance carrier receive that log. No one has to argue about whether the job is done.
- Rebuild. Once the structure is dry, the same crew that extracted water handles the reconstruction. That is the full-cycle difference, and it removes the most frustrating part of the restoration process: being handed off to an unknown subcontractor.
This is the system behind the 90-Day Done Right Promise. If something is not done right in those first 90 days, we make it right. In writing. No argument.
Queens Village-Specific Factors: Houses, Weather, and Code
Queens Village is not a generic market, and restoration decisions here are shaped by three local realities that a national advice column will never address.
The housing stock is older and heavier. Much of Queens Village was built between 1900 and 1950. These homes have plaster and lath walls, real hardwood floors, and often a finished basement that was never waterproofed. Plaster wicks water more slowly than drywall but holds it longer. Hardwood in a 1930s center-hall colonial is often irreplaceable at any price; the boards are old-growth oak in widths no one mills anymore. In our experience, the value at risk in a Queens Village water loss is higher than in a newer development simply because the materials cannot be matched at a lumber yard.
The weather drives the failure modes. Queens Village gets its heaviest rain in late summer and early fall. The same nor’easter that floods a corner of Bellerose sends water through a flat roof in Queens Village. In winter, frozen supply lines and ice dams on older roofs account for a large share of our January and February calls. Groundwater intrusion is less common here than in parts of Nassau County because of the local topography, but basement sump failures after a heavy storm are a regular occurrence.
Code enforcement is real. Queens Village falls under New York City Department of Buildings jurisdiction. Any structural repair that follows a fire or flood may require a permit and an inspection. A professional restoration company that has worked in Queens Village for years knows which repairs require what paperwork, and handles it as part of the job. A DIY repair that is discovered during a later home inspection can create a sale problem that costs more than the original damage ever would have.
Equipment: The Real Difference Between a Fan and a Dry Standard
The most visible difference between a DIY job and a professional restoration is also the most consequential, though it is the one homeowners are least equipped to evaluate. A box fan moves air. A professional air mover, placed correctly, creates a controlled pressure differential that pulls moisture out of materials and into the airstream, where a refrigerant dehumidifier removes it.
Here is the equipment a professional restoration crew brings to a Queens Village water loss, and what each piece actually does:
- Dri-Eaz and Phoenix dehumidifiers. Low-grain refrigerant units that pull moisture from the air at a rate measured in pints per day, not the ounces a homeowner-grade unit manages. These are the difference between drying a wall in three days and drying it in three weeks.
- XPOWER air movers. Centrifugal fans that create high-velocity, focused airflow. The placement pattern is determined by a moisture map, not by where the extension cord reaches.
- Injectidry systems. For hardwood floors and other dense materials, moisture is pulled out from underneath using a vacuum-panel system. This is the technology that saves the old-growth floors in a Queens Village Tudor that a homeowner would otherwise write off.
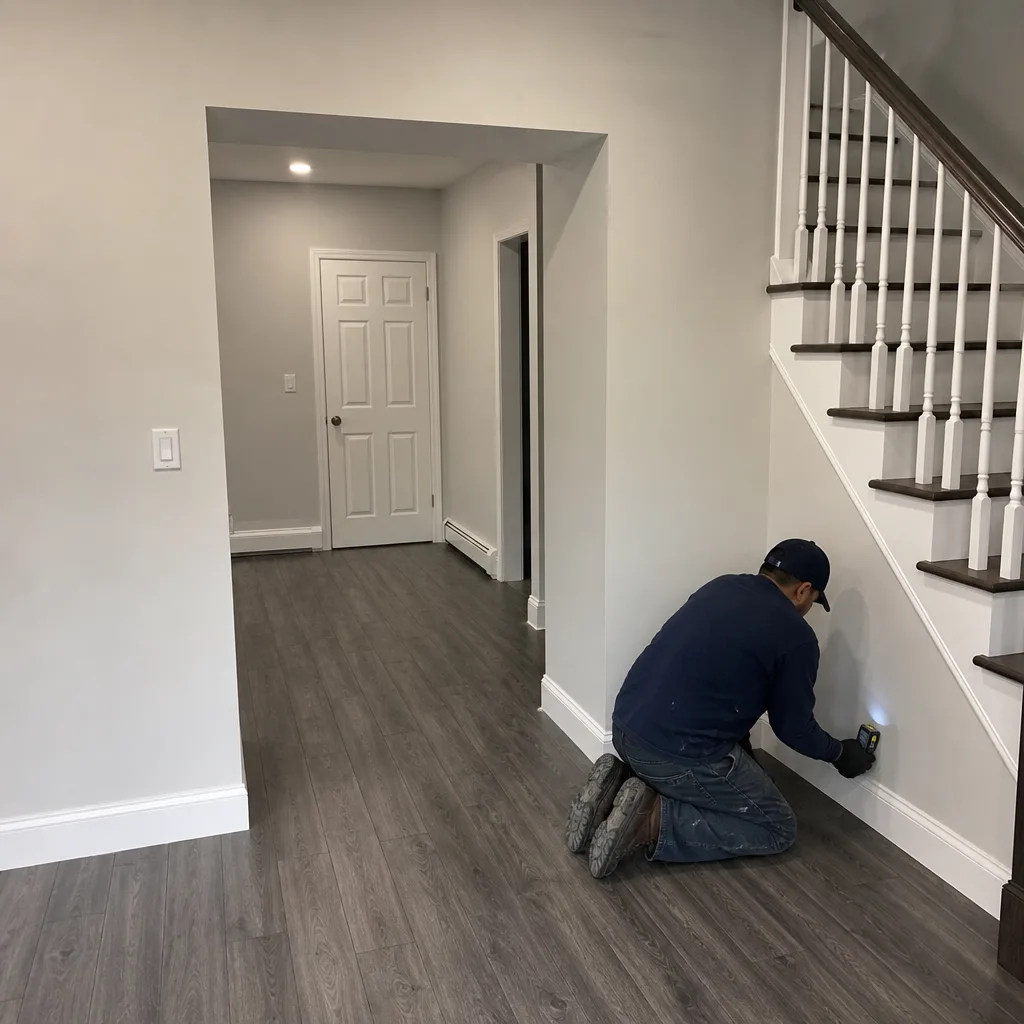
- Moisture meters and thermal imaging. A pinless moisture meter reads through drywall to find hidden water. A thermal imaging camera shows temperature differentials that indicate where moisture is hiding. Without these tools, every drying decision is a guess.
The rental dehumidifier at the local hardware store has a place. It is not in a wall cavity with wet insulation behind it.
Cost Comparison: DIY vs Professional Restoration
The honest cost comparison in Queens Village is not between a $100 rental and a $2,500 professional bill. It is between the cost of doing the job correctly the first time and the cost of doing it twice, with a rebuild on the back end.
A fair comparison, based on our experience in Queens Village and the surrounding area:
- Small clean-water spill, caught immediately, hard flooring: A competent DIY response costs $80 to $200 in rentals and utility use. A professional response to the same event costs $350 to $800. Both are reasonable, and the DIY version is arguably sufficient.
- Moderate water loss with drywall wicking: A DIY attempt costs $150 to $500 in rentals and supplies, and frequently fails. A professional drying program costs $1,200 to $3,500 and is typically completed in three to five days. This is where the hidden-cost math turns in the professional’s favor.
- Sewage backup or Category 3 water: There is no DIY option that is safe or legal. Professional remediation costs $3,000 to $7,000 and requires full containment, sanitization, and often drywall removal. Trying to handle this yourself exposes every person in the house to pathogens.
- Full fire or flood restoration with rebuild: $15,000 to $80,000 and up, driven by the scope of reconstruction. This work is priced in writing before it starts, with direct insurance billing so the homeowner never carries the cash flow between carrier and contractor.
Our pricing policy is straightforward: no-hassle upfront pricing with direct insurance billing. The homeowner sees a written scope before work begins. There are no surprises on the bill. If the job is not done right, the 90-Day Done Right Promise applies. We stand behind it.
Common Mistakes to Avoid
- Assuming dry to the touch means dry to the stud. Drywall feels dry on the surface weeks before the framing behind it is dry. A $40 moisture meter purchase or a professional reading is the only way to know.
- Waiting 24 hours to start drying. Mold does not wait for a convenient weekend. In a warm Queens Village house, the biological clock starts the moment the water stops being cleaned up.
- Using a household vacuum on sewage. This is not a cleaning shortcut. It is a health hazard and a way to contaminate the vacuum, the hose, the filter, and the air in the room.
- Running fans on mold without containment. Every fan in the room becomes a spore distribution system. The problem moves from one wall to the whole house.
- Not photographing the damage before starting demolition. Insurance carriers require proof. A thorough set of photos, taken before anything is removed, is the single most important piece of documentation a homeowner can produce.
- Calling the insurance company before understanding the loss. The words you use on that first call shape the claim. “Water damage from a burst pipe” and “flooding” mean very different things to an adjuster. A restoration company that deals with carriers daily can help with the language.
- Letting a mold problem ride until spring. In Queens Village, winter mold problems do not freeze. They go dormant in the cold and then bloom in April’s first warm, wet week. The longer the wait, the larger the colony.
When to Call a Professional
Call a professional if the water is anything but clean supply water. Call if the water has touched drywall, insulation, wood flooring, or a ceiling. Call if it happened while you were away or asleep, which means it has already had time to migrate. Call if you smell smoke or see any mold growth larger than a dinner plate. Call if the damage is in a finished basement, because the moisture is already in the walls. Floodline Restoration Co. offers free estimates in Queens Village - call (631) 557-5029 and a live dispatcher will answer, any hour, any day.
Frequently Asked Questions
If the water has touched drywall, insulation, wood flooring, or any porous material for more than a few hours, or if it is anything other than clean supply-line water, you need a professional assessment. A moisture reading is the only way to know what is hiding inside walls and floors.
Most homeowners policies in New York cover sudden and accidental water damage, including burst pipes and supply-line failures. Flood damage from rising groundwater requires a separate flood policy. What matters for any claim is prompt mitigation and documentation, which a restoration company provides directly to the adjuster. We bill the carrier directly on covered claims.
Floodline Restoration Co. has a live dispatcher answering the phone 24/7, and most jobs in Queens Village see a certified crew the same day. In a water loss, same-day extraction is the single biggest factor in saving floors, walls, and personal property. Most jobs are completed in a single visit, and the drying program continues with daily moisture readings.
You can remove the surface water, but the moisture that has migrated into the wood fibers and the subfloor will not dry with surface fans. Queens Village homes often have irreplaceable old-growth oak flooring. The Injectidry system used by professional restorers pulls moisture from underneath the boards, which is what actually saves the floor from cupping and delamination.
Visible mold is always the smaller part of the problem. Mold spreads through the air as spores, and a colony behind a wall is feeding on materials you cannot see. Cleaning visible mold without addressing the moisture source and the hidden growth means the problem returns, usually larger. A proper remediation contains the area, removes the colonized materials, and dries the structure to a standard that will not support regrowth.
If a job performed by Floodline Restoration Co. is not done right, we make it right - in writing, with no paperwork battles. The promise covers workmanship on every restoration and rebuild we perform. It is the Keystone Standard, named for the stone that holds an arch together, and it is tied to our K.E.Y.S. values code: Krafted right, Every time, Your home first, Standing behind it. Call (631) 557-5029 to ask us anything about the promise. A person will answer.
The Bottom Line
Most homeowners in Queens Village will handle one or two water events in their lifetime. The decisions made in the first two hours determine whether those events become a story about a drying bill or a story about a gut renovation. DIY works for the right kind of spill: clean, small, caught fast, on hard floors. Everything else benefits from professional equipment, professional moisture readings, and a written guarantee. A good restoration company in Queens Village does not sell fear. It sells a dry standard, documented daily, and a promise in writing. If you are standing in water or looking at a waterline on the wall, call (631) 557-5029. A live person will answer, and the same crew that starts the job will finish it.
Written by Curt Bowman, Owner at Floodline Restoration Co., serving Queens Village since 2010.