
Last updated August 25, 2026
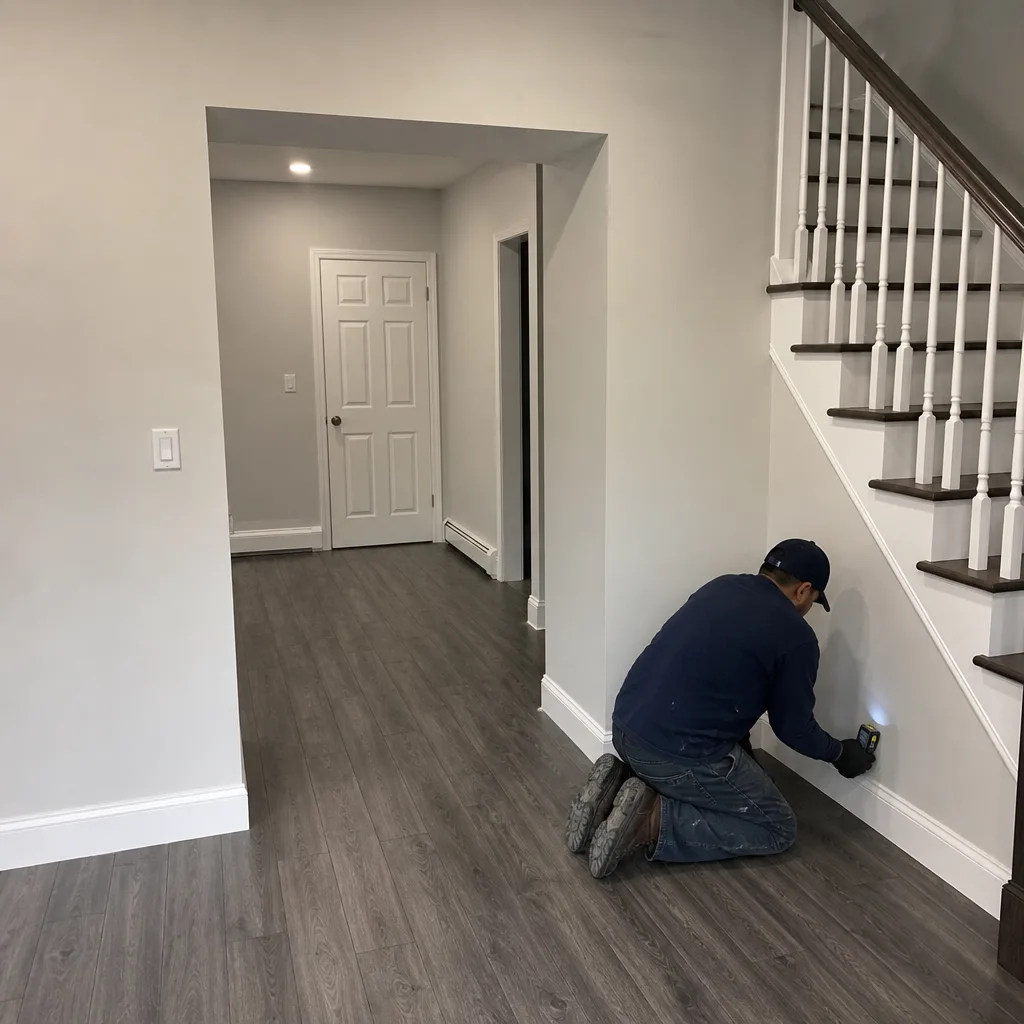
Free visual inspection and a written scope of work before any mitigation begins - photos, moisture readings, and drying logs go in your claim file
The scope we write is the scope we bill. Anything new gets shown to you, in writing, before we touch it.
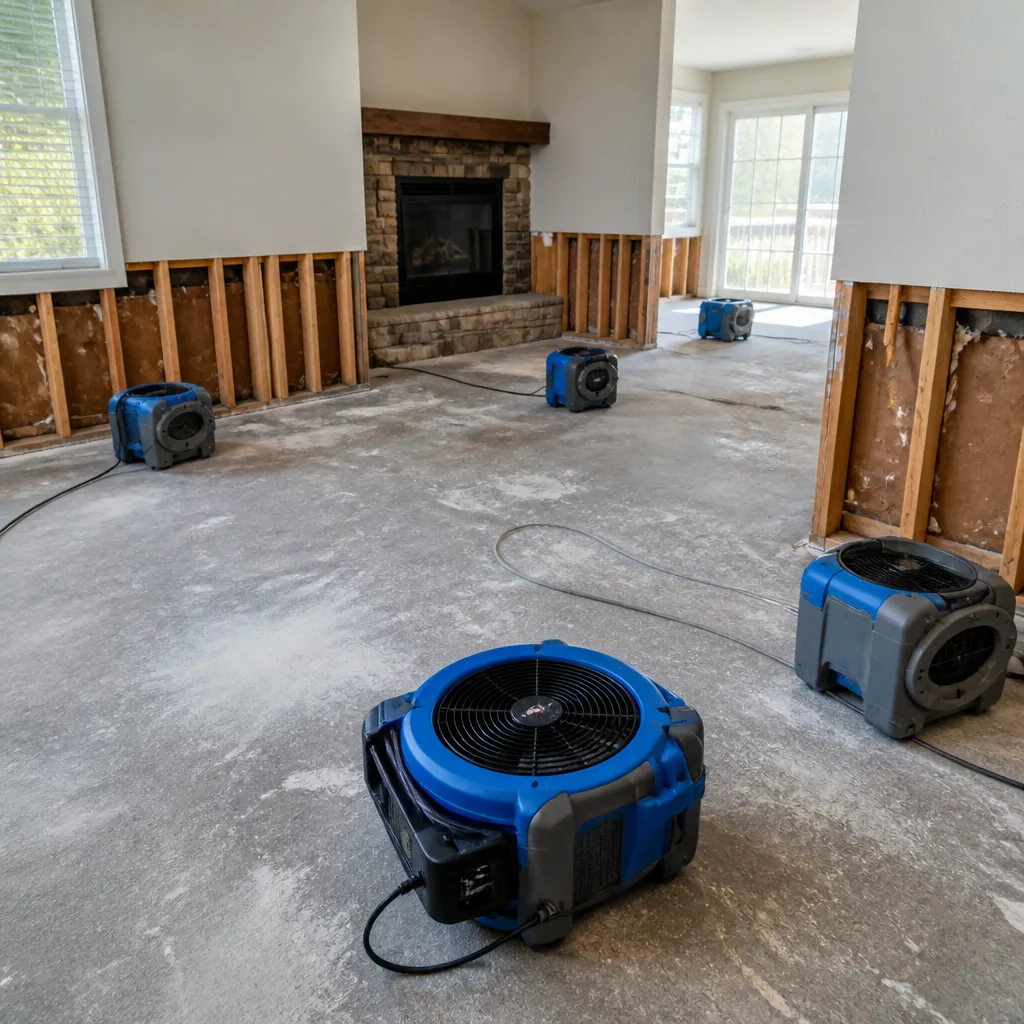

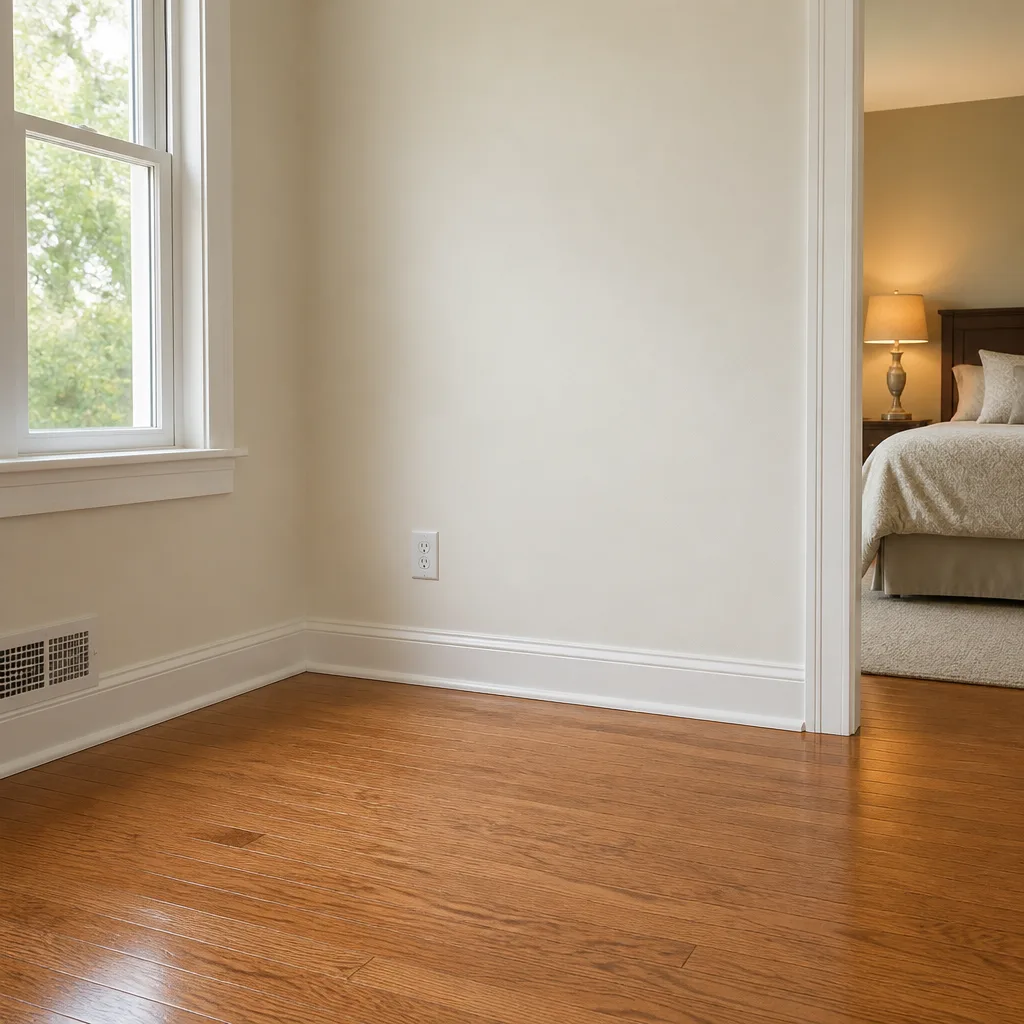

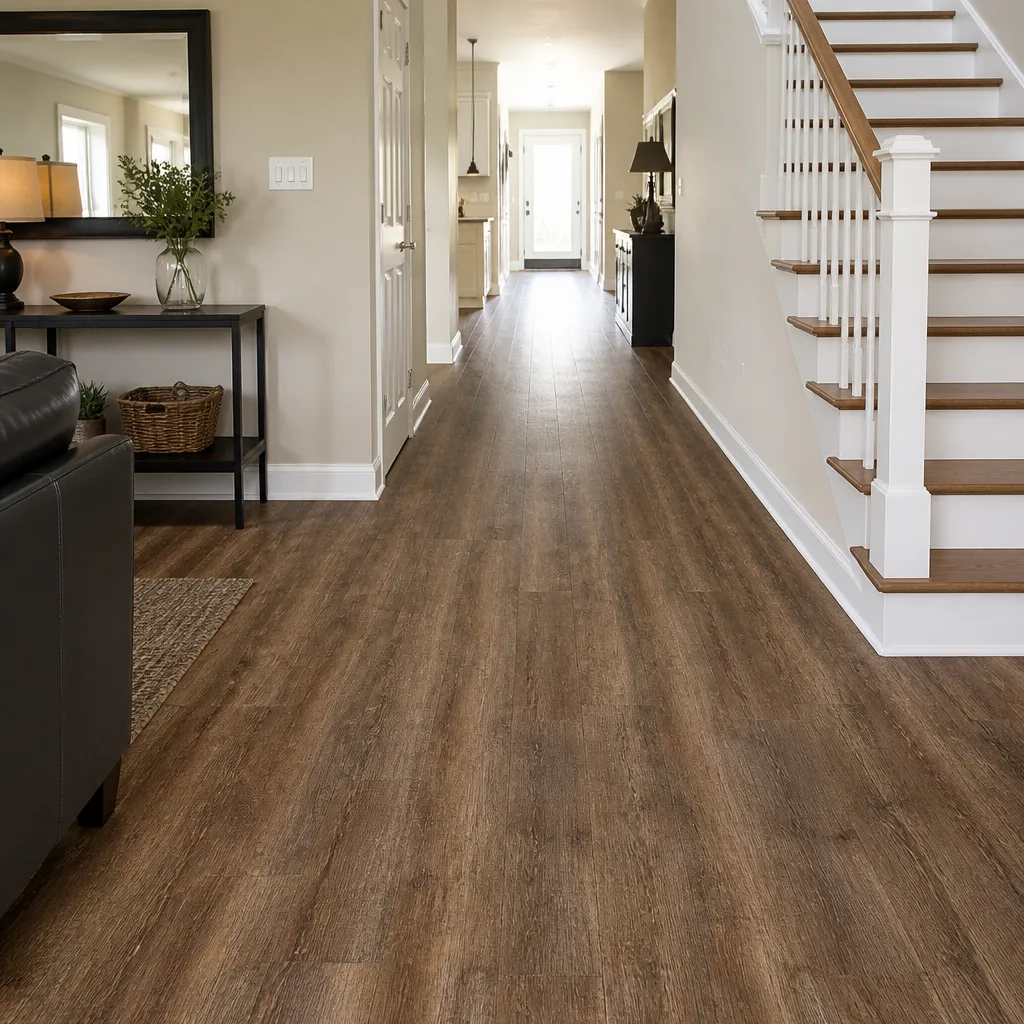

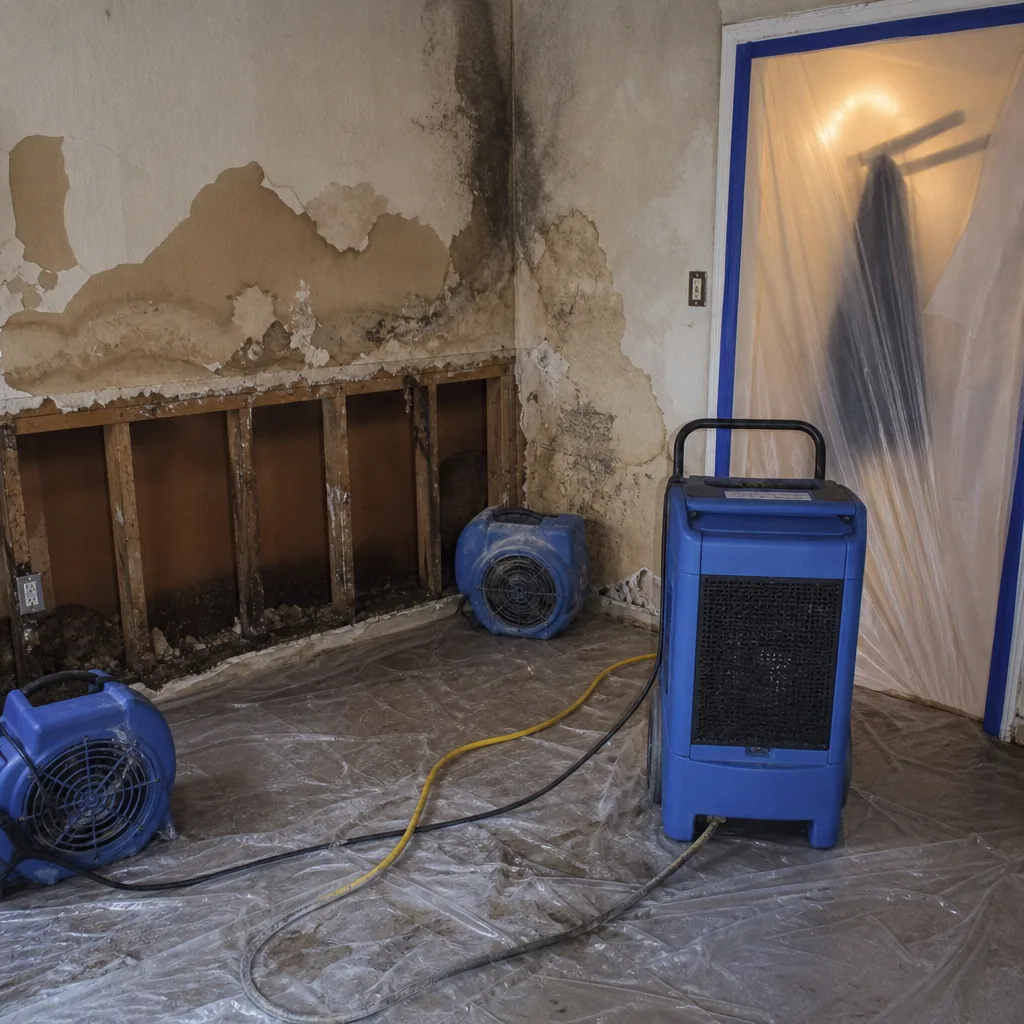 Before
 After
After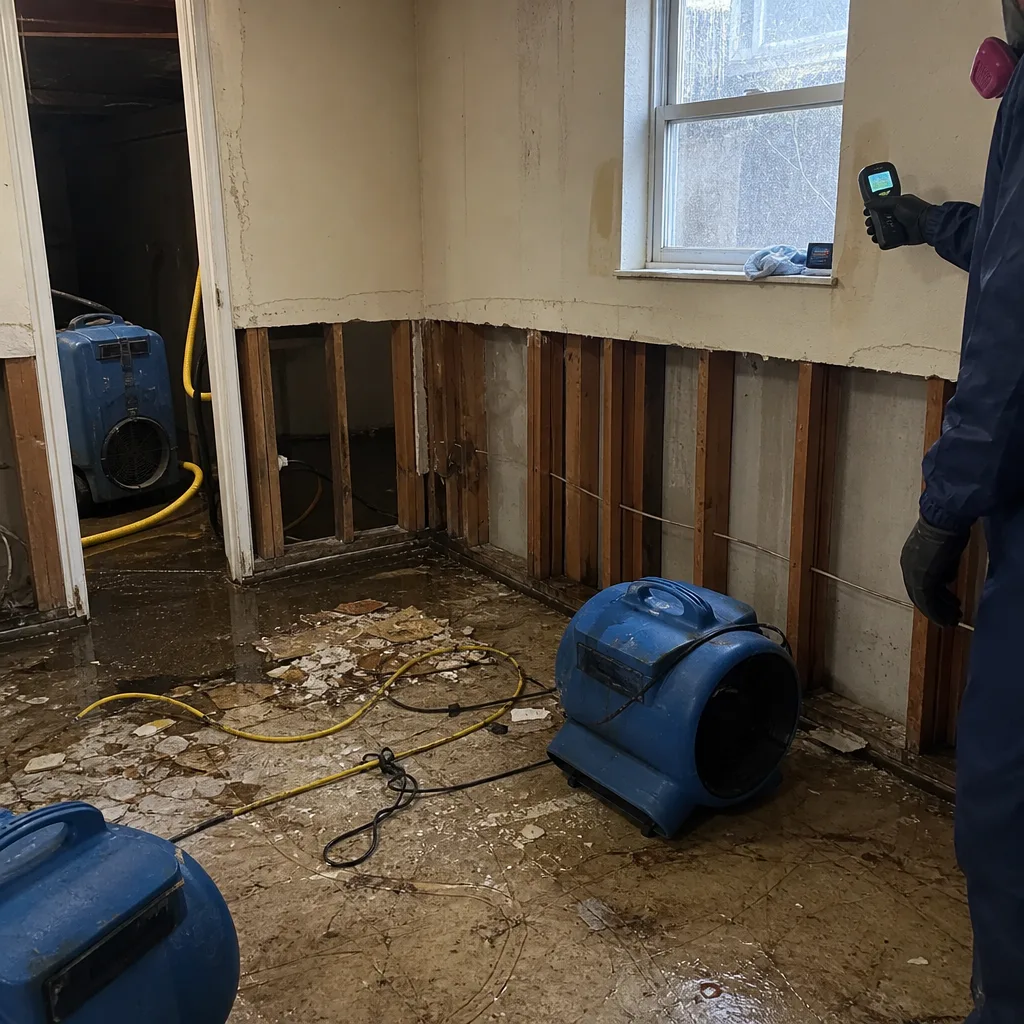 Before
 After
After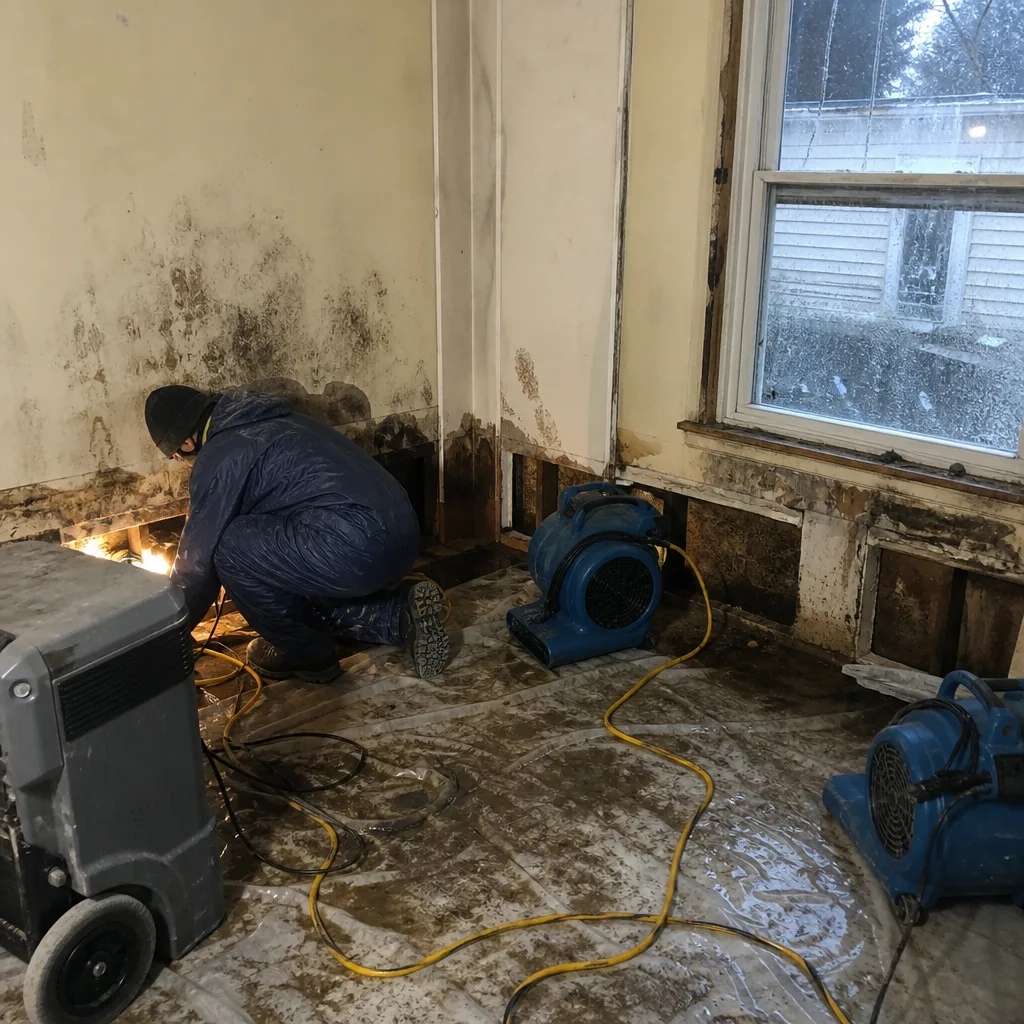 Before
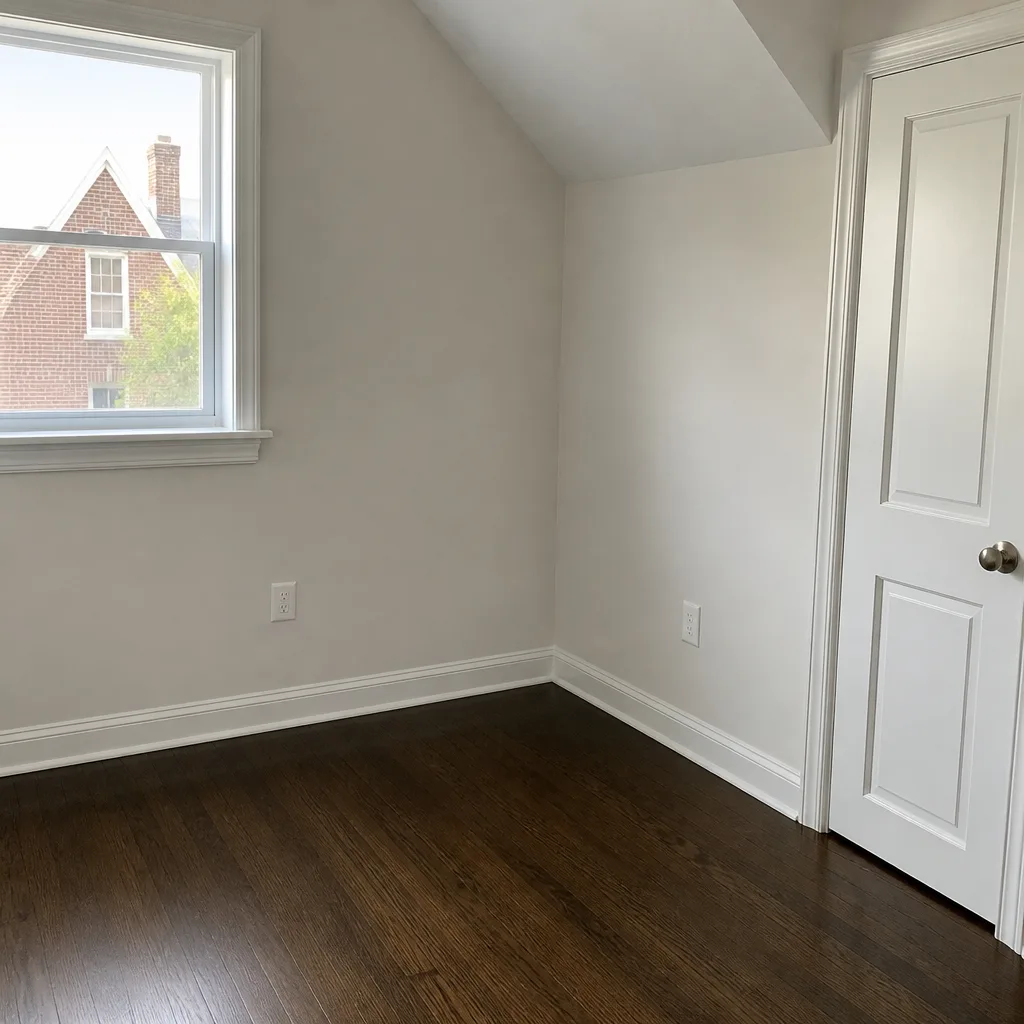 After
AfterSeasonal Damage Restoration Care for Queens Village: Year-Round Homeowner’s Guide
Most homeowners in Queens Village don’t think about restoration until water is already running across the kitchen floor. By then, the clock has been ticking for hours. The average family in our area first notices a problem around dinner time or later, which means a leak that started at noon has had six or seven hours to soak into drywall, wick up baseboards, and find its way under flooring. This guide will walk you through the seasonal risks that hit Queens Village homes hard, what you can do between seasons to prevent them, and when a problem is too far gone for DIY. We’ve spent fifteen years pulling soggy drywall out of Colonial and Cape Cod homes across Queens Village, and the damage we see is almost always predictable. It arrives with the seasons, on schedule, like the LIRR.
Quick Answer
Seasonal damage restoration care in Queens Village means preparing your home four times a year for the specific risks that each season brings: frozen pipes and ice dams in winter, rain-driven seepage and sump failures in spring, humidity and mold pressure in summer, and storm runoff plus clogged gutters in fall. The goal is to catch water, fire, and moisture problems in the first 48 hours, because that’s the window where drying equipment resolves most issues before they become mold or structural damage. A seasonal home check takes about ninety minutes and costs nothing more than your time; the $89 Seasonal Tune-Up from Floodline Restoration Co. does the same work with moisture meters and trained eyes if you’d rather have a professional take the climb.
Table of Contents
- Winter: Frozen Pipes, Ice Dams, and the Attic You Ignore
- Spring: The Sump Pump Audit and Rain-Driven Seepage
- Summer: Humidity, Mold, and the Air You’re Breathing
- Fall: Gutters, Yard Drainage, and the Fireplace Check
- The 48-Hour Window: Why Speed Is the Single Biggest Factor
- Insurance and Your Seasonal Check: What the Carrier Wants to See
- Common Mistakes to Avoid
- When to Call a Professional
Winter: Frozen Pipes, Ice Dams, and the Attic You Ignore
Queens Village sits far enough north that January and February bring real cold snaps, sometimes for a week at a stretch. Homes built in the 1930s through the 1960s, which is much of our housing stock here, were not insulated with today’s freeze-thaw cycles in mind. The two damage sources we see most often between December and March are frozen supply lines in exterior walls and ice dams forming along roof edges on split-level and cape-style homes off Hillside Avenue and Springfield Boulevard.
A frozen pipe is a ticking clock. The pipe itself doesn’t do the damage; the split that forms when ice expands inside the copper or PEX does. Water stays frozen in the pipe until the thaw, and then the split turns into an open line dumping water behind the drywall. We’ve walked into Queens Village basements in March where a pipe that froze in January finally let go during a warm afternoon, and the homeowner had no idea because the split was behind a finished wall.
What you can do between November and March:
- Know where your main shutoff lives. If you can’t find it in the dark, find it now. The valve is usually near the water meter, often along the front foundation wall in the basement.
- Drip faucets on the coldest nights. A slow drip on the faucet farthest from the meter relieves pressure. It’s not about keeping the pipe warm; it’s about giving expanding ice somewhere to push.
- Open cabinet doors under kitchen and bath sinks. The warm interior air reaches the pipes behind the vanity. This matters most when the sink sits against an exterior wall.
- Check the attic insulation over the eaves. Ice dams form when warm attic air melts snow on the roof peak, water runs down to the cold eave, and refreezes. The fix is air-sealing and insulation, not ripping off the roof. A $300 insulation upgrade prevents a $4,000 ceiling repair.
If a pipe does freeze and split, the proper response is extraction within hours, not days. Water in an insulated wall cavity stays wet for weeks, and mold starts colonizing wet drywall in 48 to 72 hours. Our crews run Dri-Eaz dehumidifiers and XPOWER air movers in these walls to pull the moisture out before the drywall has to come down entirely.
Spring: The Sump Pump Audit and Rain-Driven Seepage
April and May in Queens Village bring steady rain, and that rain finds its way into basements in a few predictable ways. The most common is a sump pump that failed sometime during the winter, when nobody was down there to hear it struggle. Pumps fail for two reasons: mechanical wear and float switch jams. Both are preventable.
Test your pump this weekend. Fill a five-gallon bucket with water and pour it into the pit slowly. Listen for the switch to click on, watch the water drop, and confirm the discharge pipe is pushing water well away from the foundation. If the pump runs but the pit level doesn’t drop, the discharge line may be frozen or clogged, or the impeller is shot. If the pump doesn’t run at all, kill the power and check that the float moves freely.
Queens Village basements are also known for a particular kind of seepage called cove seepage, where water comes up where the floor slab meets the foundation wall. This happens when the water table rises after extended rain and hydrostatic pressure pushes water through the cove joint. A working sump pump relieves that pressure. When the pump fails, the water table wins, and the basement becomes a wading pool.
What else to check in spring:
- Exterior grading. Soil should slope away from the foundation at least six inches over the first ten feet. Decades of settlement in Queens Village yards often reverse that slope so water runs toward the house.
- Downspout extensions. Downspouts should discharge at least four to six feet from the foundation. The plastic accordion extensions are fine if they stay in place; the hard PVC or aluminum ones are better.
- Window wells. If you have below-grade basement windows, the wells fill with leaves over winter. A leaf-choked window well holds water against the window frame, and that’s a leak waiting to announce itself.
Summer: Humidity, Mold, and the Air You’re Breathing
Queens Village summers are humid. No surprise there. What surprises homeowners is how that humidity acts on the inside of a house that has a small, hidden leak or a damp basement. Mold doesn’t need standing water to grow. It needs a surface that stays above about 60 percent relative humidity for a sustained period, and a food source, which drywall paper and wood framing both provide in abundance.
The first sign of a humidity-driven mold problem in a Queens Village home is usually a smell: earthy, musty, a little like a pile of wet leaves in October. That odor comes from microbial volatile organic compounds, the gases mold emits as it digests the drywall. By the time you smell it, the colony is well established. The second sign is visible discoloration, often in the basement corners, behind furniture set against exterior walls, or along the ceiling under a bathroom.
Air conditioning helps, but it’s not a dehumidifier. An AC unit pulls moisture out of the air only while it’s running, and on days when the outdoor temperature is mild but the humidity is high, the system may not run enough to keep the basement below the mold threshold. Homes in Queens Village without central air often have dehumidifiers in the basement; the ones we see are frequently unplugged in the fall and never plugged back in come June.
Here’s the summer checklist we recommend to every homeowner in Queens Village:
- Run a dehumidifier in the basement from May through September. Set it to 50 percent relative humidity. Empty the bucket or run a hose to a floor drain.
- Check the dryer vent. A clogged dryer vent pushes moisture into the wall cavity and the laundry room air. It’s a mold source and a fire risk at once. Our $89 Seasonal Tune-Up includes a dryer vent inspection.
- Look behind furniture on exterior walls. In summer, warm humid outdoor air meets cooler interior wall surfaces, and condensation forms. Furniture pushed tight against those walls blocks airflow and creates a microclimate where mold thrives.
- Get under the kitchen and bathroom sinks with a flashlight. Slow drips from supply lines or drain fittings are the most common hidden water source in summer, because the house shifts slightly with temperature swings and old compression fittings loosen.
Fall: Gutters, Yard Drainage, and the Fireplace Check
Fall in Queens Village is the season for leaf load. The mature oak and maple trees that line streets in the 11427 and 11428 zip codes drop a serious volume of organic material into gutters and downspouts every October, and a clogged gutter system redirects water directly against the foundation. That water then follows the same path as spring rain, into the cove joint, through a crack in the foundation wall, or around a basement window frame.
Clean the gutters in early November, after the main leaf drop. If you can’t safely get on a ladder, hire it out. A proper gutter cleaning includes flushing the downspouts with a hose to confirm water flows freely from the roof to the discharge point. A downspout that’s clogged at the elbow thirty feet up is invisible from the ground but causes the gutter to overflow at that corner, and that water lands right at the foundation.
Two more fall items matter in Queens Village. First, if you have a fireplace, get the chimney inspected before you light the first fire. A creosote buildup of a quarter inch or more is a fire hazard, and a blocked flue sends smoke and carbon monoxide into the living room. This is not a cosmetic check; it’s a safety check, and a chimney fire is a fire restoration job no homeowner wants to meet firsthand.
Second, walk the yard after a good rain and look at where water pools. If water is standing against the foundation for more than a couple of hours after the rain stops, the grading needs work. If water pools in the yard and then drains slowly, the soil may be compacted, and a French drain or swale may be the right fix. These are both jobs our crews handle as part of the reconstruction side of the business, because long-term water management outside the house is the only way to keep the restoration work inside the house from being needed again.
The 48-Hour Window: Why Speed Is the Single Biggest Factor
Here’s the number that matters most in restoration: 48 hours. That’s the window between the moment water hits drywall or wood and the moment mold begins to colonize those materials. In a warm, humid Queens Village summer, that window can compress to 36 hours. In a cold, dry winter, it might stretch to 72. Either way, the principle holds: the faster you remove the water and get professional drying equipment running, the less demolition you’ll need and the lower the final bill.
This is why we run 24/7 live dispatch and why our crews carry Dri-Eaz and Phoenix equipment on the trucks. A call at 2 a.m. gets a human being on the phone, a crew dispatched, and extraction started the same visit. The homeowner who calls at noon the next day is already eight or ten hours deeper into the window, and every one of those hours means more drywall to cut out, more baseboard to remove, and more floor to lift.
The sequence that matters, in order:
- Stop the source. Shut the water off. Kill the power if water is near outlets or appliances.
- Call a restoration company. Not tomorrow. Now. The fastest way to reach us is (631) 557-5029.
- Extract standing water. Professional extraction removes the bulk of the water. A shop vac takes out the rest. This is not the time for towels.
- Set drying equipment. Industrial air movers and dehumidifiers create a drying chamber in the affected room. We use moisture meters to map the wet area and log daily readings until the dry standard is met.
- Document everything. Photos of the water, the damage, the equipment running, the daily moisture readings. Your insurance carrier wants to see all of it. So do we, which is why our techs document every step.
If you’re reading this before a water event, save the phone number in your contacts now. If you’re reading it during one, stop reading and call.
Insurance and Your Seasonal Check: What the Carrier Wants to See
Insurance adjusters in Queens Village work with the same facts we do: water damage that’s documented early is covered and resolved; water damage that’s discovered weeks later is a fight about wear and tear, maintenance, and mold exclusions. The single best thing a homeowner can do, beyond the seasonal checklist, is to document the house when it’s dry. Photos of the basement, the attic, the water heater, the sump pump, and the under-sink cabinets, dated and stored on your phone or in a folder. When the adjuster arrives after a loss, you have a “before.” That’s worth a lot.
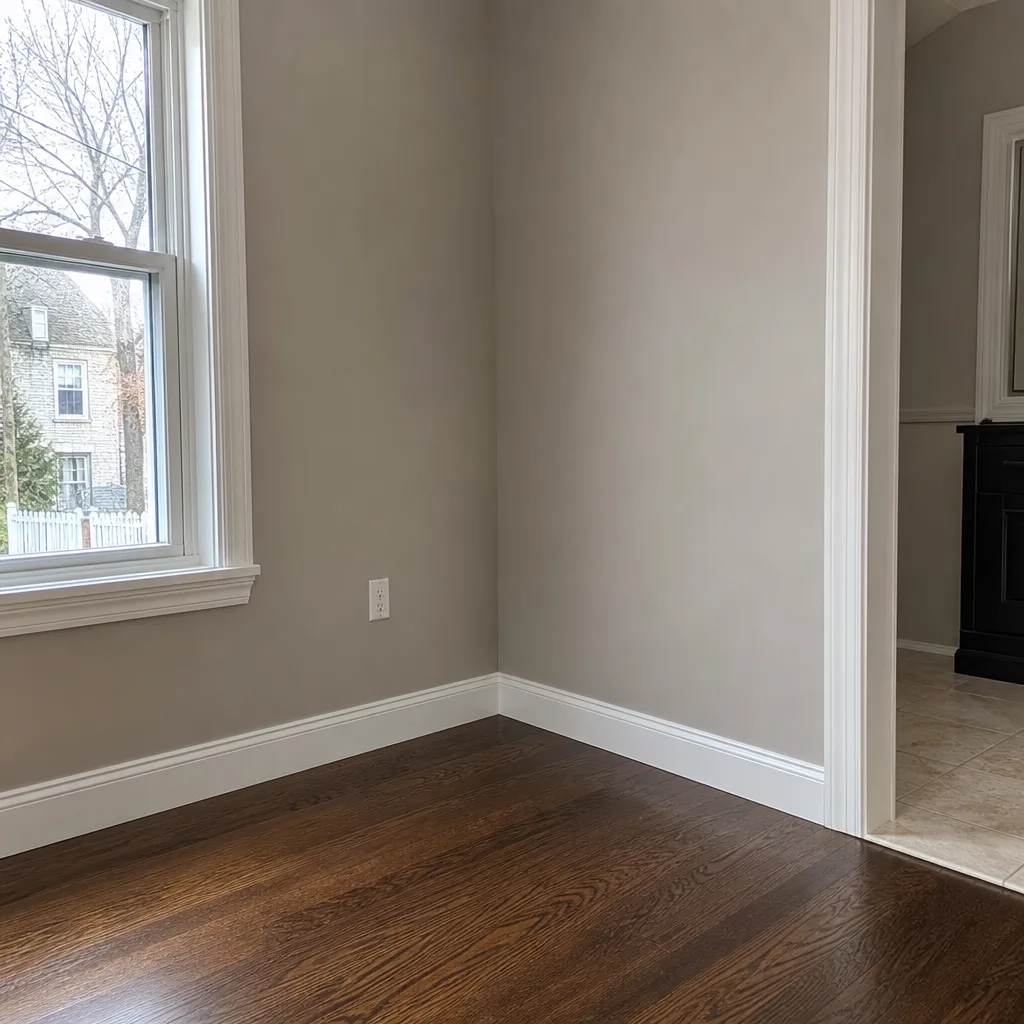
On a restoration job, carriers want a few specific things, and we provide them as standard practice because we bill the carrier directly. They want a moisture map, which shows where the water went and how wet each area was on arrival. They want daily drying logs, which show the moisture readings dropping over time until the dry standard is met. They want photos of the damage before, during, and after. And they want a written scope of work for any reconstruction, so they can approve the repair before it starts. No surprises on the bill, for you or for the carrier.
Our team handles the adjuster communication throughout the job. You never play messenger between our crew and the insurance company. You get a copy of everything, but you don’t carry anything back and forth. For a homeowner who’s been burned once by a contractor, this is the part that matters: a square deal, in writing, with the paperwork handled by people who do it every day.
Common Mistakes to Avoid
- Waiting to see if it dries on its own. Drywall that got wet and is left in place dries on the surface and stays wet inside the wall cavity. This is how hidden mold starts. If water has been sitting for more than a few hours, it needs mechanical drying.
- Turning off the dehumidifier to save electricity. A dehumidifier running 24/7 in a Queens Village basement costs about $3 to $4 a day. A mold remediation job costs thousands. The math is not close.
- Skipping the sump pump test in spring. Most sump pump failures happen during the first big March or April rain, when the pump has been idle since October and the float switch has seized. Test it now.
- Using a household fan instead of a professional air mover. A box fan moves a little air over the surface. A professional XPOWER air mover pushes 2,000 CFM across the floor and under the baseboard. The difference is whether the drywall survives.
- Cleaning gutters once in October and calling it done. Queens Village trees drop leaves from October through December, and a second cleanup in early December catches what the first one missed.
- Assuming insurance won’t cover the loss and not filing. Many homeowners eat a $5,000 repair bill because they assume the deductible or the exclusion makes filing pointless. File the claim. Let the carrier tell you no. You might be surprised.
- Calling a general contractor for water damage instead of a restoration company. A general contractor patches and paints. A restoration company maps moisture, dries to a standard, and verifies the dry-out before rebuilding. The two jobs are not the same.
When to Call a Professional
Call a restoration company when water has been inside the house for more than a couple of hours, when water has touched drywall or flooring, when you smell mold or see discoloration on walls or ceilings, when the sump pump fails during a rain event, when a pipe bursts, or when a fire or smoke event has left residue on surfaces. Also call if you’re simply not sure. A free estimate costs you nothing, and the $89 Seasonal Tune-Up is the cheapest insurance against a surprise you’ll have to pay for later. Floodline Restoration Co. offers free estimates in Queens Village - call (631) 557-5029 and a live person will answer, day or night.
Frequently Asked Questions
Water damage restoration in Queens Village typically costs between $1,200 and $4,500 for a contained event like a burst pipe or a failed water heater, depending on how much drywall and flooring is affected and how long the water sat before extraction started. Larger events like a full basement flood or a roof leak that saturated multiple rooms can range from $5,000 to $15,000 or more. The best way to get an exact number is a free on-site estimate. Call (631) 557-5029 and we’ll come out, map the moisture, and give you a written scope before any work starts.
Most Queens Village homeowner’s policies cover sudden and accidental water damage from burst pipes, appliance failures, storms, and fire, minus your deductible. What they don’t cover is damage from long-term neglect, slow leaks that went unaddressed for weeks or months, or flood water from outside the home unless you have a separate flood policy. That’s why the seasonal checks matter: documented maintenance and fast response are what separates a covered claim from a denied one. We bill the carrier directly and handle the adjuster communication on every covered job.
Floodline Restoration Co. runs live dispatch 24 hours a day, seven days a week, and our crews reach most Queens Village homes within an hour of the call. A live person answers the phone at 2 a.m., not a recording, and extraction equipment starts running the same visit in most cases. Speed is the entire game in restoration, which is why we built the dispatch board the way we did.
If the water came from a clean source, like a supply line or a water heater, and it was addressed within 48 hours, a thorough drying with professional equipment is usually enough, and no full remediation is needed. If the water sat for days, came from a sewage line, or you’re seeing visible mold growth on surfaces, remediation is the honest answer, because cleaning the surface doesn’t solve the colony behind the wall. Our moisture mapping shows exactly where the water went, which tells us exactly how far the tear-out needs to go. No more, no less.
Our team does. We bill the carrier directly and handle the adjuster communication throughout the job, from the first moisture map to the final reconstruction invoice. You get copies of everything, and you never play messenger between our crew and the insurance company. It’s one of the reasons homeowners choose us after having been burned once by a contractor who left the paperwork in their lap.
It’s our written guarantee, the Keystone Standard: if the work isn’t done right, we make it right, no arguing and no paperwork battles. We back it with the K.E.Y.S. values code - Krafted right, Every time, Your home first, Standing behind it - and it’s given to every homeowner in writing before we finish the job. We’ve been serving Queens Village since 2010, and a company that plans to be in town in thirty years stands behind what it builds.
The Bottom Line
Queens Village homes face predictable seasonal damage risks, and the homeowners who do the small, cheap maintenance work each season are the ones who never need a restoration crew in the first place. Test the sump pump in spring. Run the dehumidifier in summer. Clean the gutters in fall. Drip the faucets in winter. And when water does get in, act fast, document everything, and call a crew that handles the whole job from extraction to rebuild, with the insurance carrier billed directly and a written guarantee in your hand. We’re at (631) 557-5029, and a live person answers, every time.
Written by Curt Bowman, Owner at Floodline Restoration Co. home, serving Queens Village since 2010.